So you’ve unboxed your new resin printer or are planning to buy one soon – congrats! Now how the heck do you print something?
This guide includes everything you’ll need to quick start your first resin 3D print (I’ll do a separate guide for your first FDM print, as they are different). This guide includes where to source print files, how to prepare them for your printer, how to initiate a first print and how to “cure” your models after they print to ensure they’re safe to handle. This guide also includes details I was too excited to care about initially but really needed to know as time went by. For instance, how does your printer actually perceive your STL files?
Here’s how the guide breaks down:
Step 1: Check you have everything you’ll need to print
Step 2: Prepare your 3D printer
Step 3: Find the 3D print file you want to print
Step 4: Prepare your 3D print file
Step 5: Export and transfer your file to your resin printer
Step 6: Important: Removing the print and aftercare to ensure prints are no longer toxic
Step 7: Optional tips like priming for bringing out details
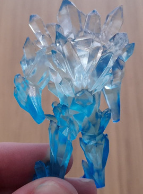
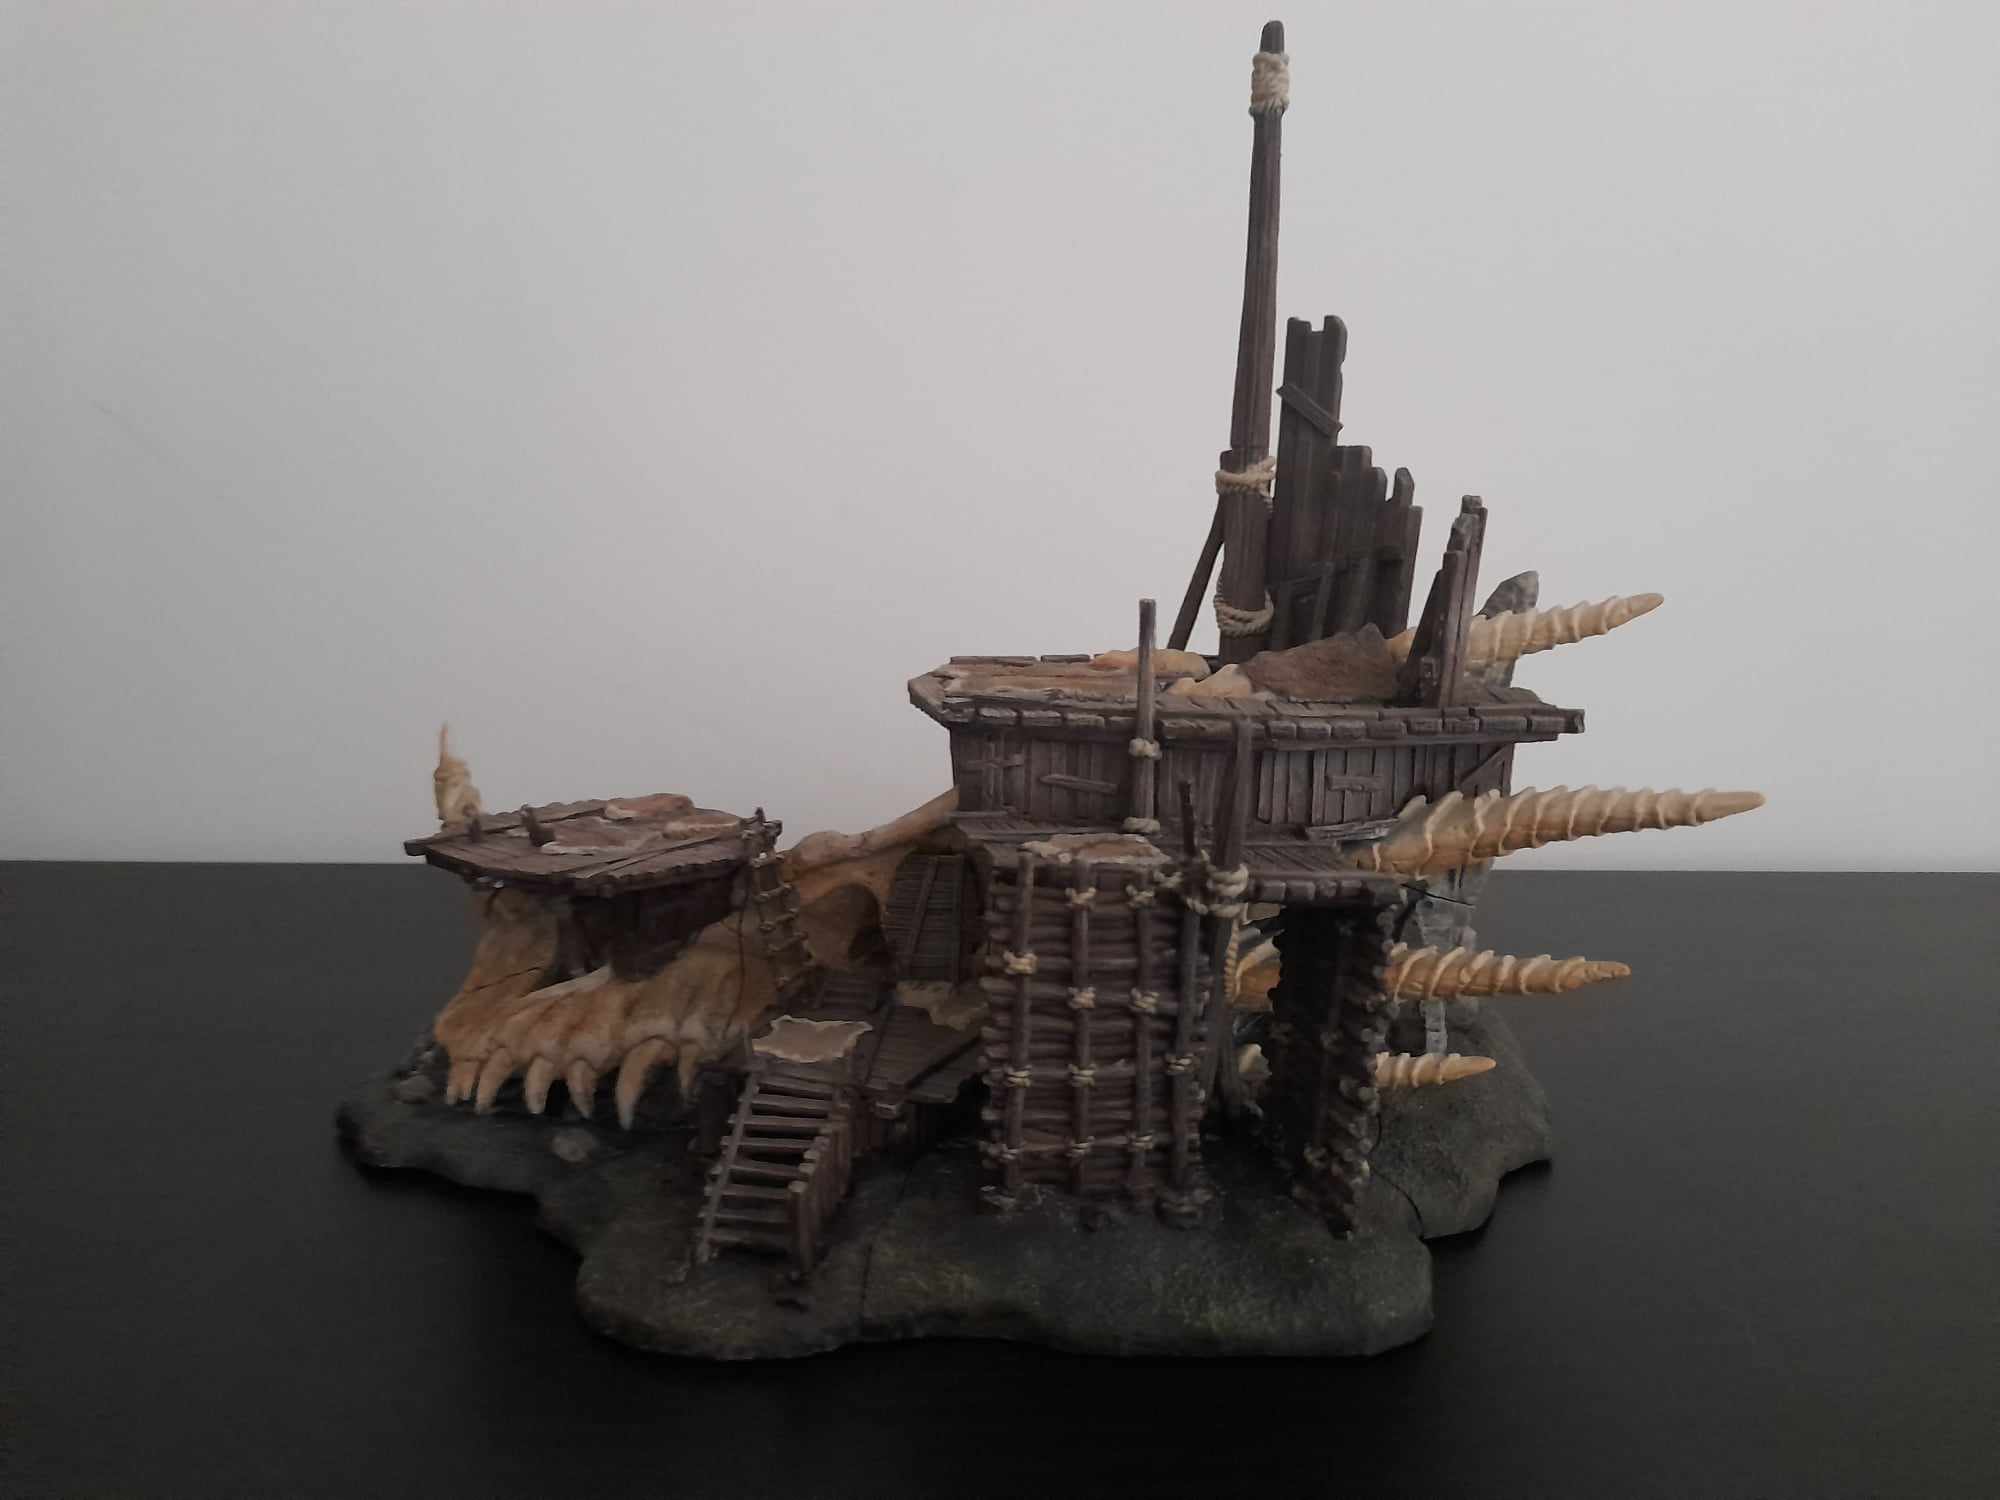
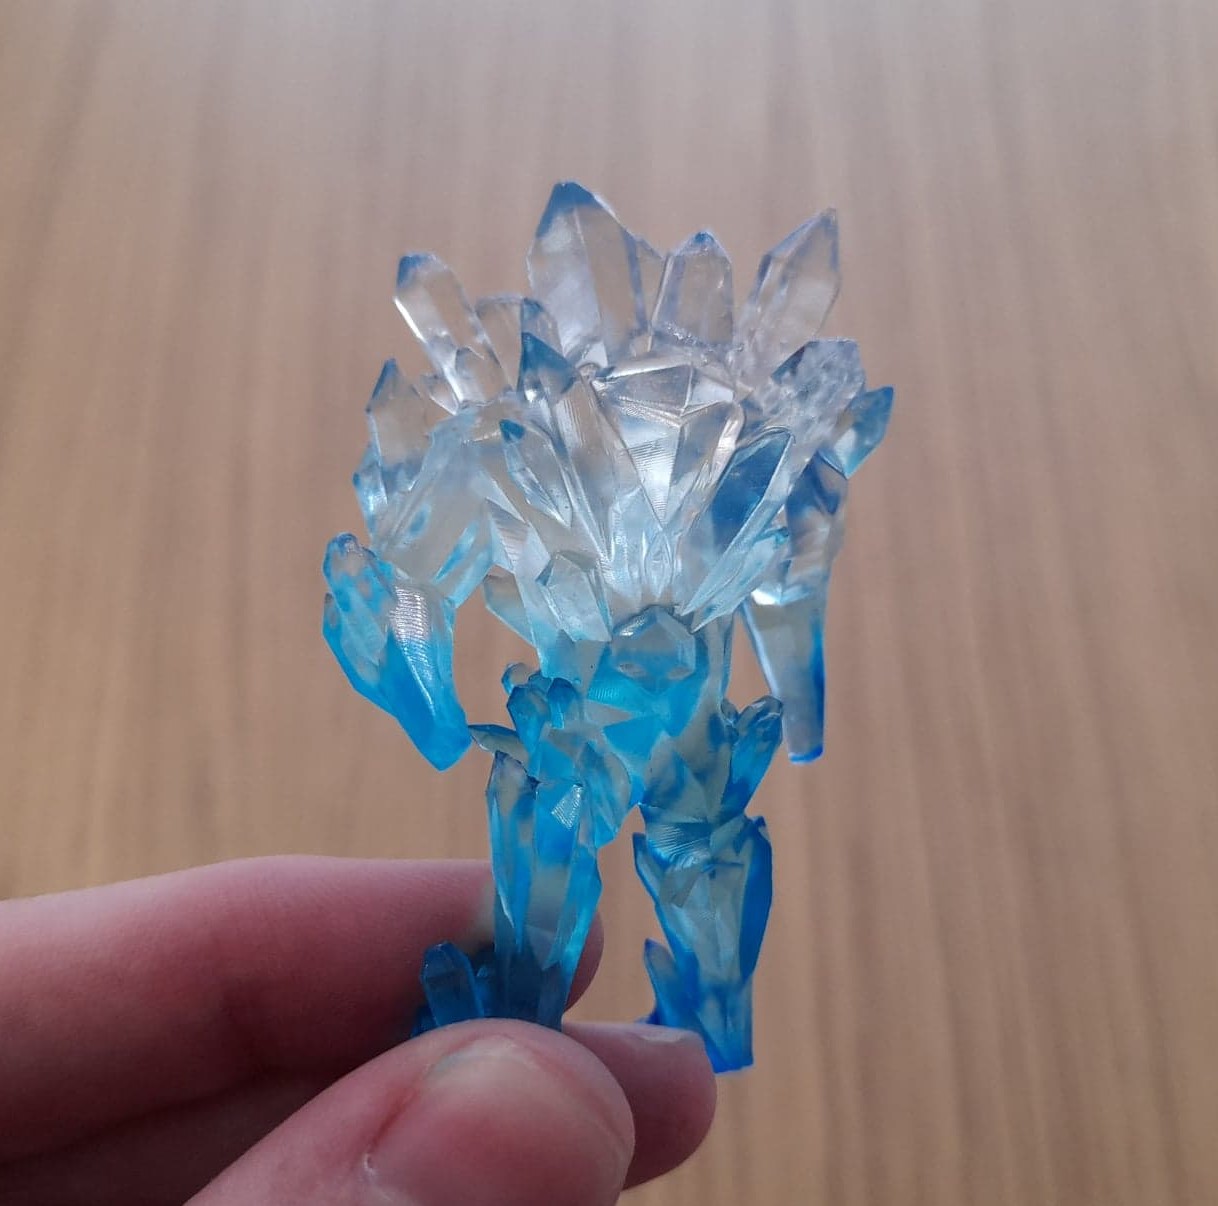
Example resin prints:
You could print anything – hundreds of times, like those little fish people I accidentally went to town with. Here’s a quick gallery of examples to keep you motivated to get through the learning curve of your first print. It’s not difficult, it’s just a lot of little steps.


Step 1: Everything You Need to Buy
Assuming you have the 3D printer already (start here if you don’t), here’s everything you’ll need to begin your first print at a minimum:
-
-
- Resin (I strongly suggest starting with something straightforward like standard grey)
- 99% alcohol (preferably Isopropyl Alcohol)
- Nitrile gloves
- 1 plastic and 1 metal spatula (your printer should come with a plastic and metal one)
- Paper towels (your local Aldi, Coles or Woolworths ones will do)
- Safety mask
- Bin bags (any)
- (Optional) UV curing station
- (Optional) Sealed tub for storing alcohol
- (Optional) Safety goggles
- (Optional) Filter funnels
-
Recommended Beginner Shopping List:

Anycubic Resin – Standard Grey:
Roughly AUD $30
They often have discounts for bulk orders. You can use this on non-Anycubic printers, the resin’s brand doesn’t matter in that regard.
- Here’s the Anycubic resin guide database – match your printer with the closest sized Anycubic model.

5L Isopropyl Alcohol 100%
Roughly AUD $30 (+$22 shipping)
You can get 1L, but you’ll go through it quick enough that I highly recommend just getting the 5L. Especially given this is flammable liquid that drives up shipping costs.

Nitrile Disposable Gloves:
Roughly AUD $15
Ensure you get nitrile gloves when handling resin. Remember, resin is toxic before it’s cured.
Highly Recommended But Non-Essential Wishlist:

Respirator Mask and Goggles:
Roughly AUD $30
This mask and goggle set offers good value. The mask is especially important to protect against resin fumes – particularly if you have any respiratory sensitivities.

Metal Filter Funnel:
Roughly AUD $13
Returning resin to the bottle will require you to strain it first to remove any solidified bits. This is especially vital if you’ve experienced a print failure.

Sealed Tub for Alcohol:
Roughly AUD $5
You don’t need this if you get a 2-in-1 curing station. If you don’t get one, or if you want to print items that come in quite large pieces, pick up an appropriately sized tub. The first link is for a tall 2.2L tub.
Here is a larger 7.5L sealed tub:

Elegoo Mercury Plus 2 in 1 Washing and Curing Station :
Roughly AUD $150
Can cure models from any printer, but is designed to fit Mars 4 DLP, Mars 3 Pro, Mars 3, Mars 2 Pro, Mars 2.
Extra large option:
Step 2: Prepare Your 3D Printer
You’ll have instructions out of your box for setting up your printer, as this will vary by model. I recommend looking to direct instructions on a per-printer basis. It typically follows the same pattern – levelling the bed means getting a small piece of card and performing a bed level check to lock the height into place.
Here’s a video of a bed level for the Elegoo Saturn 3 Ultra:
Optionally, prepare a DIY workstation to make model clean-up and curing easier once your print is ready.

Personally, I use a baking tray as a workstation. I line it in paper towels for easy clean-up. From left to right, I have nitrile gloves, a yellow plastic scraper for gently scraping things off the FEP film as needed, a metal scraper for getting prints off the print bed, and some hobby clippers (also known as sprue cutters or nippers) for removing supports.
Step 3: Find the 3D Print File You’d Like To Print
3D print files are typically downloaded in .STL or .OBJ format, or occasionally .CTB or .LYS format (which can only be opened in Chitubox or Lychee respectively). You can download them on several websites, including MyMiniFactory or Cults 3D. I’ll make a future post with all the options for file downloads I’ve come across.
To start you off, here is a creator called Yasashii Kyojin Studio who makes a huge range of free DnD fantasy models. Select ‘Free’ in the filter section on the lefthand side menu. Pick a mini you like and download it, or browse the website for other artists.
Keep in mind, most free models come unsupported. You will need to rely on auto-supporting in your slicing software in the beginning. This is easy to do. For an even lower learning curve, you could buy pre-supported models from artists on marketplaces such as MyMiniFactory or Cults 3D.
Below I’ve linked a few options for a first print, labelled either pre-supported or un-supported so you can take your pick. Professional hand-done supports are much smoother for getting minis free from after they print, so I recommend starting with pre-supported options.
Quick Note:
There’s no difference between resin or FDM print files when you first download them – both use .stl and .obj files. The difference lies in how you slice them for the different printer types to read as resin reads formats like .ctb or .pwmx, while FDMs require gcode. It also lies in how you need to support them. Finally, many files are created with either resin or FDM in mind, especially terrain which is predominantly in the realm of FDM, or small detailed miniatures which is predominantly the domain of resin printers.

FREE: The Dark Merchant STL:
3D Artist: Flesh of Gods
Details:
- Pre-supported: Yes
- Scale: 32 mm
- Base size: 25 mm

FREE: Wereraven STL:
3D Artist: Yasashii Kyojin Studio
Details:
- Pre-supported: No
- Scale: 32 mm or 54 mm
- Base size: Unspecified

FREE: Penitent Bulwark STL:
3D Artist: Bestiarum Miniatures
Details:
- Pre-supported: Yes
- Scale: 32 mm
- Base size: 40 mm
More Challenging Options:
These are larger, free options by some of the top 3D artists in the community – for after you’ve mastered the basics:

The Faceless King
3D Artist: Witchsong Miniatures

Siege Wyvern
3D Artist: Dragon Trappers Lodge
Step 4: Prepare Your 3D Print Files
You’ve downloaded a 3D print file you want to print – now what? Now, you’ll need to prepare it for your printer.
Start by downloading one of the two free slicing software programs below. I use Lychee in the guide video below, but either works.
- Lychee slicing software (free) OR
- Chitubox slicing software (free)
Although you’ll receive your 3D print files as .STL or .OBJ, this isn’t necessarily the format your printer can read. Files need to be sliced and converted – generally to a format like .ctb or .pwmb. Note: Again, this is for resin 3D printing. FDM uses gcode and will get its own guide. Check your printer’s specific instructions if you’re unsure.
Below is a video on how to slice your first file. Note that if your model is ‘pre-supported’ already, there’s no need to add supports of your own.
Video: Using Lychee to Slice Your STL (Resin 3D Printer) Files
Previewing STL Files in File Explorer
This is optional, but often you get many files that are difficult to tell apart in a single folder. It really depends on the artist how organised your downloaded file folders end up being and some are pure chaos to put it mildly – especially if you download a large object that comes in many pieces, or with many alternative options.
I recommend using a file previewer. I wrote a blog on how to get hold of a free one here: Previewing STL files. It’s optional, but a good quality of life improvement.

Important: Pre-supported Files vs Unsupported Files
You only need to auto-orientate and support your model if it is unsupported to begin with. If you open up a file that says pre-supported, you don’t need to change anything. No adding supports, rafts or orientating it – pre-supported means it’s ready to go.
Below is the same miniature in a pre-supported form (left) and unsupported form (right). Many creators will give you both options. If you use the unsupported version or it’s all that’s available (especially likely if the model is free), you will need to follow the steps in the video above to add your own supports. If the model is pre-supported, you can skip through to the ‘Export’ stage after dragging your model into Lychee. You will still need to set your printer and resin settings, of course.
Professionally pre-supported models are generally a dream to get models free of supports post-printing. However, there is one advantage to unsupported – you can scale the model up or down. You typically can’t scale pre-supported models, as the supports would get too thick or thin in the process.

Slicing your file in Lychee
Watch the video above for the full step by step breakdown. Essentially, you’ll want to drag and drop your STL file into a slicing software program like Lychee or Chitubox (both free).
You will want to lean on the convenient automated options for now.
If the model is unsupported, you will need to auto-orientate the model, add automatic supports and a raft, and finally set up your printer and resin details. More on that below.
A note about the ‘Repair 3D model’ warnings: You can generally ignore these. 3D modelling is complex, and the software’s error detection firing doesn’t mean the print will fail. If you’re using a file from a reputable artist, I wouldn’t worry about those warning messages. I see them frequently.
Cheatsheet for Lychee’s 3 Stages:


Setting up your 3D printer and resin specifications in Lychee
For this step, there is too much variance per printer and resin type to cover off. However, below are my specifications for my Elegoo Saturn using a few different resin types to give you an idea.
Lychee also stores default options and community-sourced settings per printer and resin combination, so you’re welcome to select from those and see what works for you.
What you should also do is check your 3D resin manufacturer’s recommended settings. Look for their recommendations either for your precise printer, or for the next closest printer in dimensions. For example, the Anycubic Photon Mono X and Elegoo Saturn S are equivalent printer bed sizes, so I’d use their settings mostly interchangeably. It’s not ideal, but the margin of error is usually not wide enough to be an issue.
- Here’s the Elegoo resin guide database.
- Here’s the Anycubic resin guide database.
Sometimes the individual resin product pages on the manufacturer’s website will have the guidelines available there as well.
My settings:
Elegoo Saturn using Elegoo Regular Grey Resin (the default choice)

Elegoo Saturn using Anycubic Plant-based Grey Resin (slightly less toxic to handle)

Elegoo Saturn using Anycubic ABS-Like Pro V2 Clear Resin*

*Note:
The above is for clear and ABS-like (tougher) resin, each of which is distinct. I use transparent resins (ABS or not) for water and other transparent miniature effects. See my guide to transparent resins here, but it’s a bit more advanced to print with clear resins.
Step 5: Hitting Print
Export your file from Lychee, and you’re ready to print!
After you’ve supported your 3D print files and set your printer and resin parameters, you’re off to the races. Export your file to its final format for the printer like .ctb or .pwmb, depending on which your resin 3D printer needs (Lychee will guide you if you select your printer, but you should check with your manufacturer). For Elegoo printers, it’s generally .ctb. Your file rendering can take a little while, especially if your file is on the tall side.

Soon you’ll have more minis than you’ll know what to do with.
Next, transfer your sliced file to your resin printer. Usually you’ll put your sliced files onto a USB drive (ideally 2G memory or less, although I have had success with 8G drives. Higher gigabytes can be difficult for the printer to read due to hardware limitations). Avoid fancy Wi-Fi options for your first few prints – they can occasionally have their own snags and learning curves.
Hitting print: This varies by printer but is generally very simple. Use the screen to navigate to the file you want to print and hit print.

The First Few Layers
It’s generally good practice in 3D printing to monitor the initial layers. That’s because those intial or “burn in” layers are the most crucial to the print’s success. They’re what anchors the entire print in place to the print bed. In the case of resin printing, the dark conditions needed to conduct SLA printing means you won’t be able to rely on your vision to verify how your first layers are going. Instead, you’ll listen out for the subtle sounds of successful first layers.
You should hear the following:
A quiet crunch on descent and very light pop on lift – it’s a smooth, light sound. The first few layers should see the bed plate hold in place once it touches the resin tray for a good few seconds.
You shouldn’t hear any of the following:
- A harsh suction sound – Minor suction is fine, but a loud or harsh suction sound could indicate your raft is too large and flat, creating a harsh suction, or your resin tray isn’t firmly secured in place and is being lifted.
- Vibrating or shuddering – This likely means your bed isn’t levelled properly.
Step 6: Important! Aftercare to ensure prints are no longer toxic
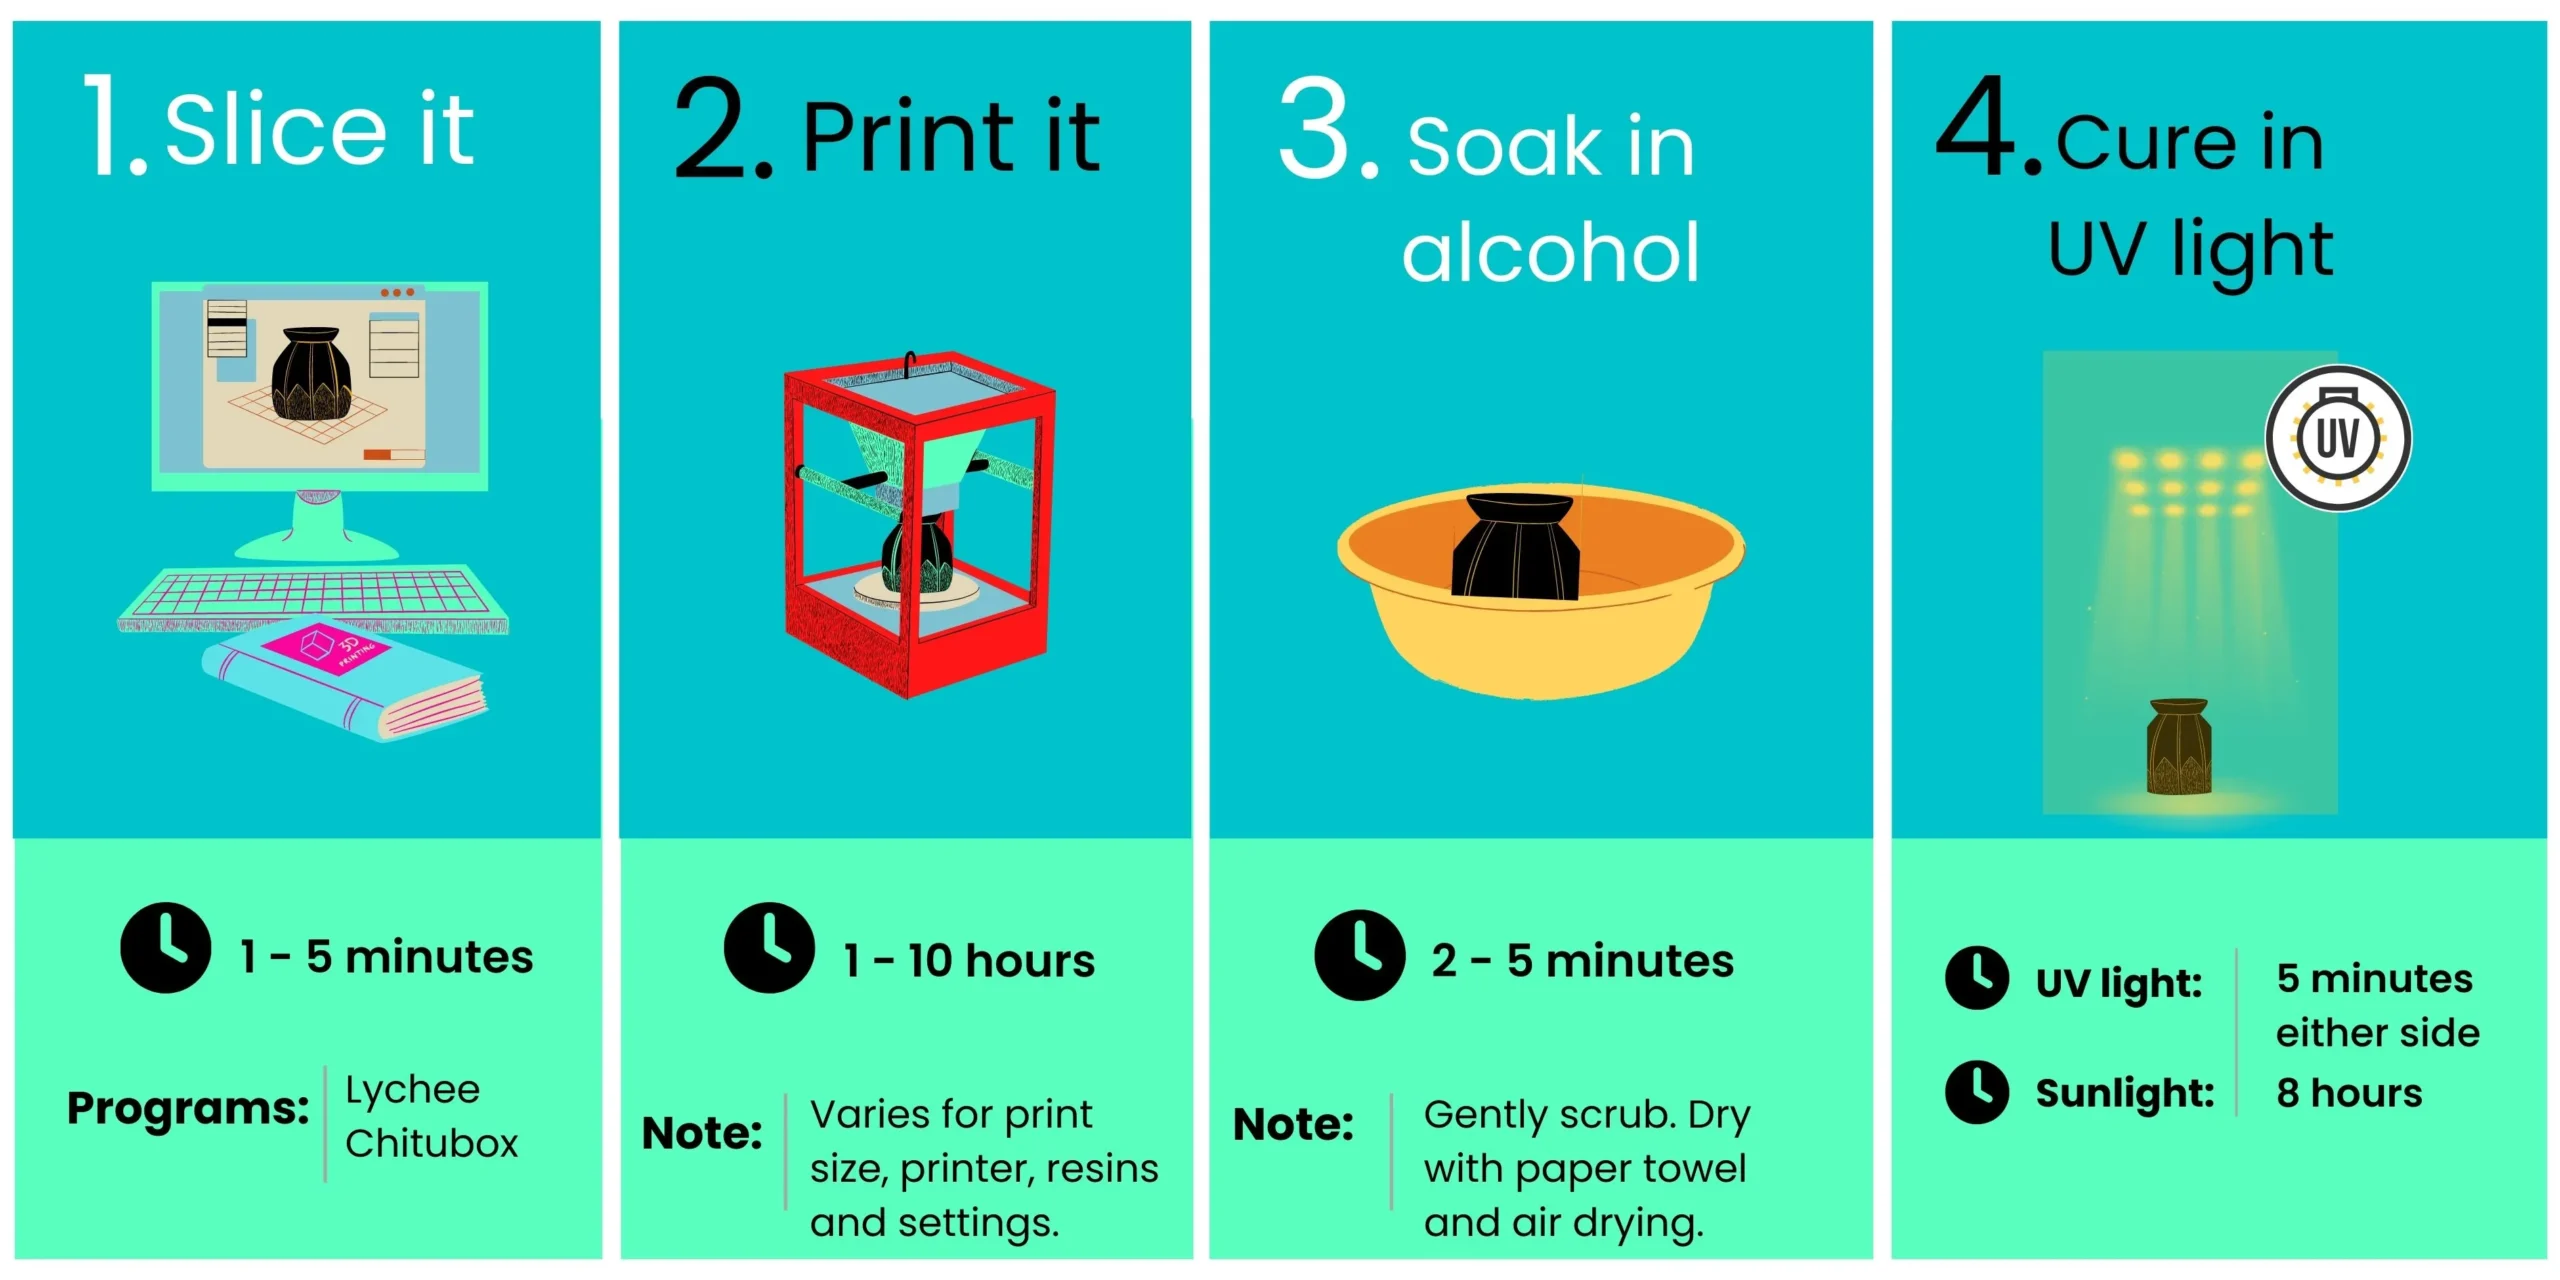
Resin is toxic until it’s cleaned in a process called “curing”. You’ll cure your model using the following steps:
Step 1: Wear your nitrile gloves to remove your print bed, with the your 3D printed models stuck to it. Scrape them off using your metal scraper, applying gentle pressure beneath the raft (the “base” of the model). If you’re having trouble removing the models from the print bed, see this guide: Resin prints stuck to build plate.
Step 2: Once your models are free, wash your models thoroughly in the 100% isopropyl alcohol, or very close to that percentage. You can either use a wash station (typically 2-in-1 with a curing station) or a plastic sealed tub which you can close to be airtight.
Step 3: Pat your models dry gently with paper towels so they don’t get sticky.
Step 4: Gently remove any supports from your models. If your models have any drainage holes, tip them upside down and leave to drain for a few hours before you cure your models. You can use the hobby clippers most printers come supplied with to help you snip off supports. Removing supports initially took a lot of patience and resulted in lots of small miniatures losing arms and legs, but in time I’ve been able to slide supports off with my bare hands in record time. Keep at it.
Step 5: Finally, cure your model under UV light. You can use an official curing station (3 – 5 minutes either side), a DIY UV light source (again 3 – 5 minutes either side), or simply direct sunlight (up to 8 hours depending on exposure levels).
For an advanced guide on curing your models, you can read this blog: How to cure resin 3D models.
In Summary:

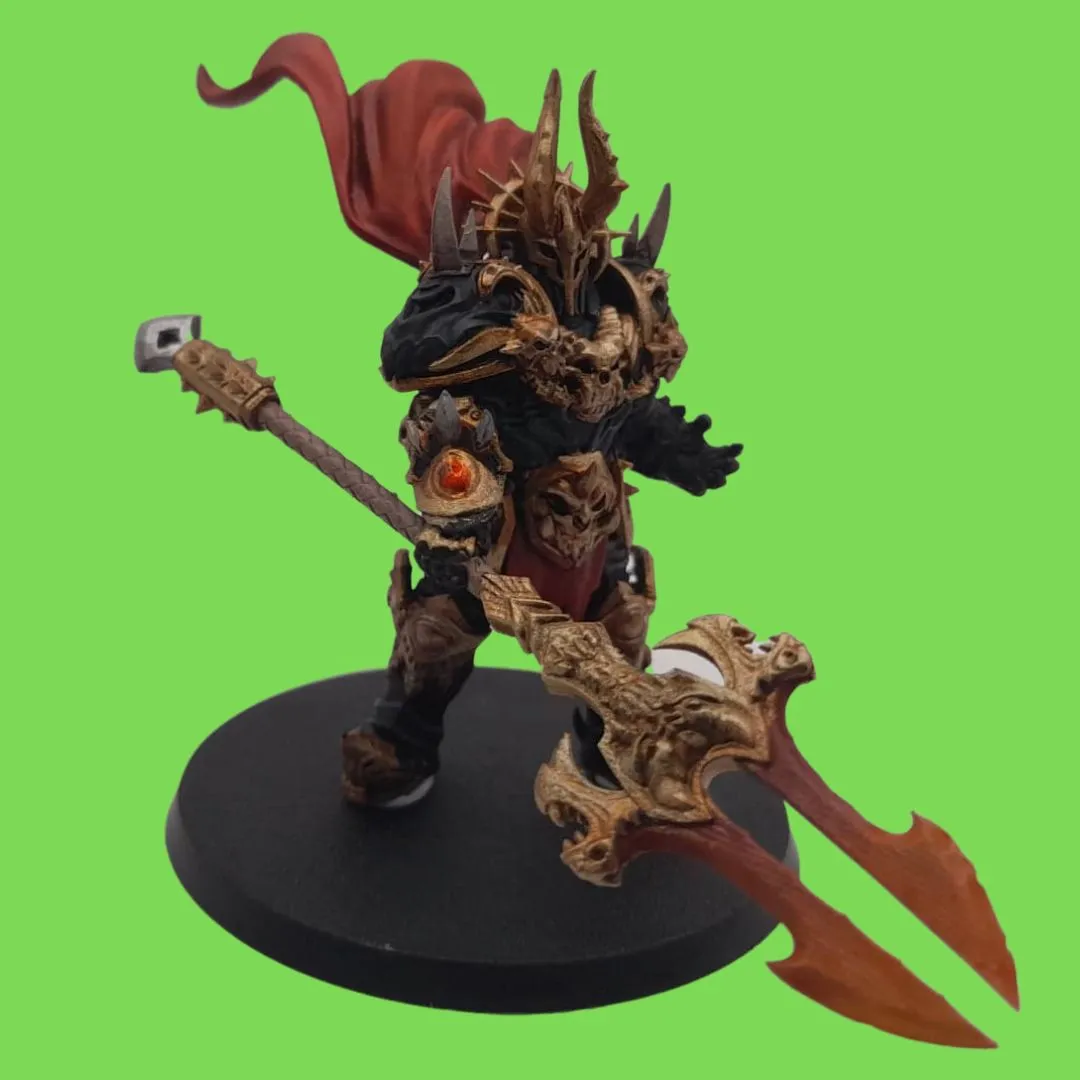
Step 7: Optional: Prime and/or paint your models
I prime my models whether I intend to paint them or not. This is because it picks out the details on your model very nicely. Here’s an example of a primed and un-primed 3D resin print of Astarion from Baldur’s Gate 3.

3D Artist: Twin Goddess Miniatures
Priming is essential if you do want to paint your models. If you’re a fan of tabletop games, especially Warhammer and the like, you’re likely very familiar with the process of priming. The process is the exact same for resin prints.
Prime your models using options like the Citadel spray or Vallejo spray. My preferred choices are black if you intend to paint the minis (especially if you intend to dry brush them), grey or off-whites like Citadel Wraithbone – especially if you don’t plan to paint them.


3D Artist: Loot Studios

Citadel Aerosol Wraithbone Primer
This is my favourite primer colour.

Vallejo Aerosol White Primer
Vallejo is great in general.
Troubleshooting print failures and beginner mistakes
I plan to write a follow up blog with common printing mistakes or reasons for print failures, particularly aimed at beginners. Not only did I make mistakes among the first couple of prints I did, I also made mistakes when I upgraded from a smaller resin printer to a larger one, and again when I added FDM to the mix. There are so many fiddly bits to learn in this hobby. Don’t let it frustrate you – you’ll pretty quickly reach a stage where the printing is plug and play. The 3D printing learning curve in my opinion looks a lot like this:

Enjoy your new minis. And if you run into trouble – visit the 3D printing communities on sites like Reddit. The hobby scene is large these days, with loads of people happy to help. There’s probably a subreddit for your exact 3D printer or print brand.
Who am I?
I’m Danny, living here in New South Wales, Australia. I’m a hobbyist using printers primarily for DnD and wargaming, and by extension have gotten into painting and 3D modelling. Thanks for stopping by my blog, I hope it helps!