If you’ve ever tried creating clear 3D prints with some of the readily available transparent resin brands such as Elegoo Transparent resin or Anycubic’s Transparent range, chances are they appear either yellowed or barely transparent at all. The former is because UV light yellows most clear resin – which means yellowing at the point of curing, and further yellowing if left in contact with sunlight such as a windowsill.
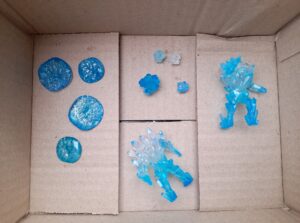
Not only that, but even fresh from your resin 3D printer, any clear prints seem to be cloudier than they are truly transparent. I was routinely disappointed by the fact that my clear 3D prints didn’t seem able to resemble glass, magical effects, crystal or other transparent qualities to the extent I expected. I did find more expensive professional transparent resins that seemed up to the job, but honestly the shipping to Australia was excruciating. Nonetheless, with a bit of digging, I came across a simple technique to get clear resin prints. And here are the results!

What You’ll Need:
- Transparent resin
- Resin dye (cheapest one I could find, used below) or more premium options can be found here
- Acetone (i.e. nail polish remover) or IsoPropyl Alcohol
- A spray can of clear gloss or varnish
When handling resin, you will also need the usual supplies, including safety gloves and a mask.
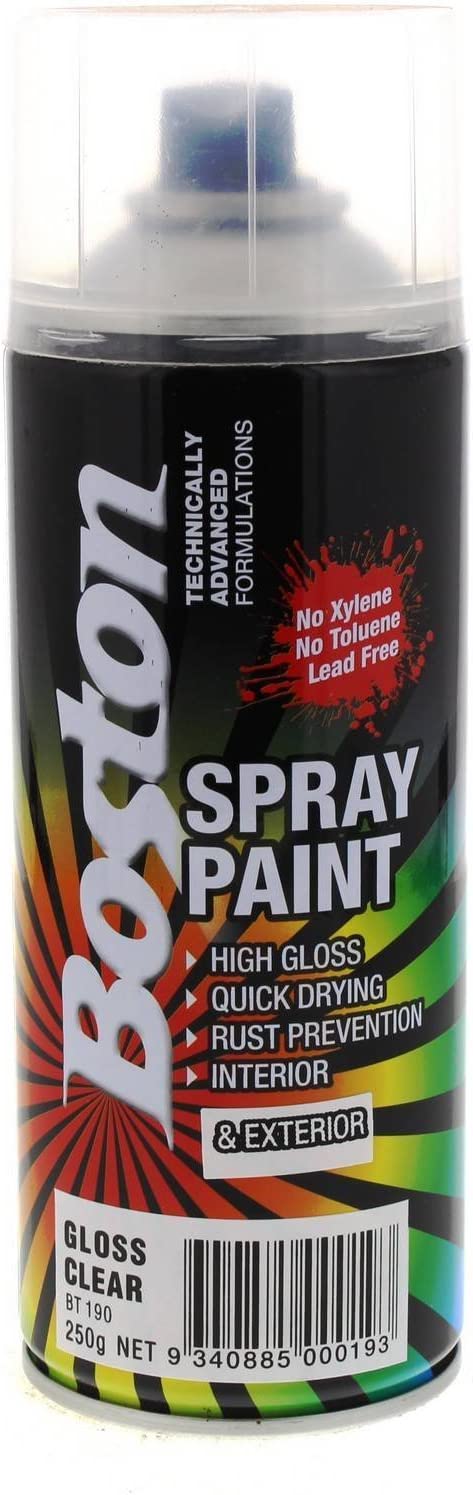
1. Clear Gloss Spray
This is the brand I used, and comes recommended. It’s pretty affordable at around $6.50 AUD at time of writing.
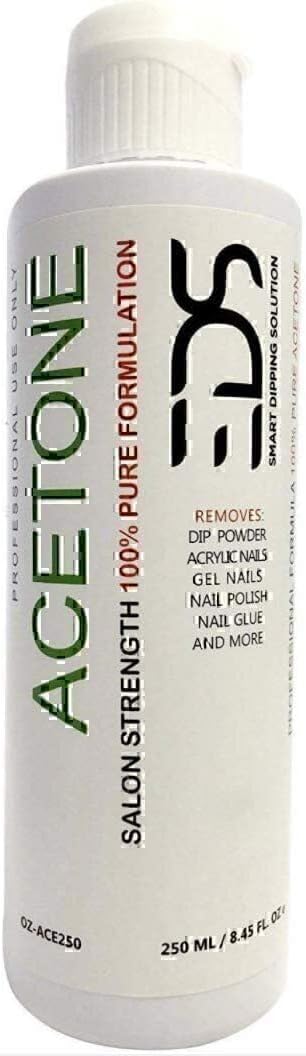
2. Acetone (Nail Polish Remover)
Any brand will do, just make sure it’s 100%, liquid and acetone and you’ll be fine. Typically used as nail polish remover. P.S. Also great for cleaning FDM print beds!

3. Translucent Resin
I’ve linked Elegoo’s, but any brand will do. Elegoo, Voxelab or Anycubic. I use Anycubic or Elegoo primarily. Creality has a translucent resin too that you could try.
How To Do It:
Time: 10 minutes or less

- A cup or tub of water
- A small tub of Acetone or Isopropyl Alcohol
- Resin dyes (optional)
Step 1: Print Clear
Print your clear resin 3D prints as you normally would. For tips, see the below section on parameters.
While you can add the resin dye pre-print, for this technique we’re going to add it post-print. So keep your prints simple and transparent. Cure them as you usually would.
To be honest, if you want the model to be completely transparent, you can omit using resin dyes entirely.
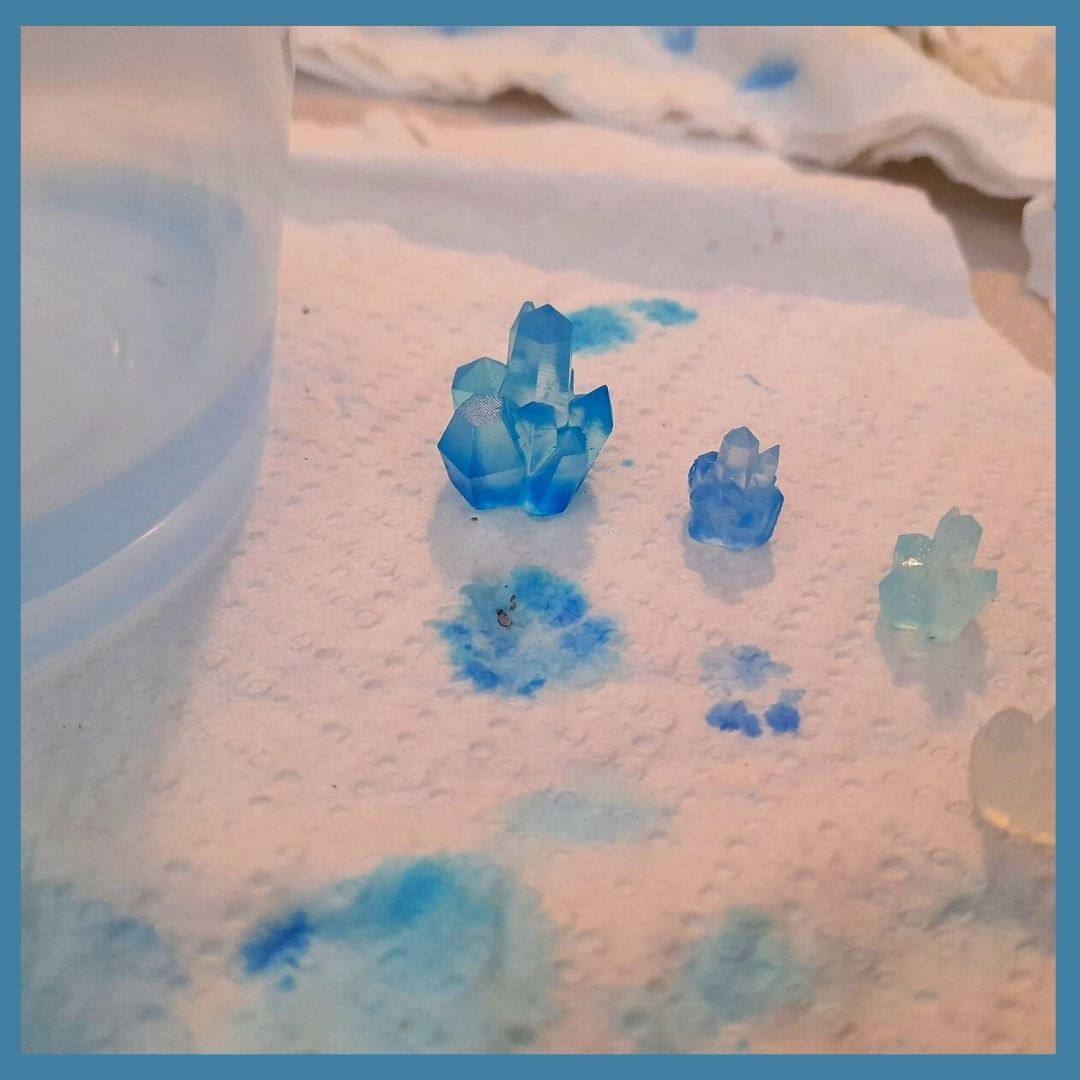
Step 2: Apply Resin Dye
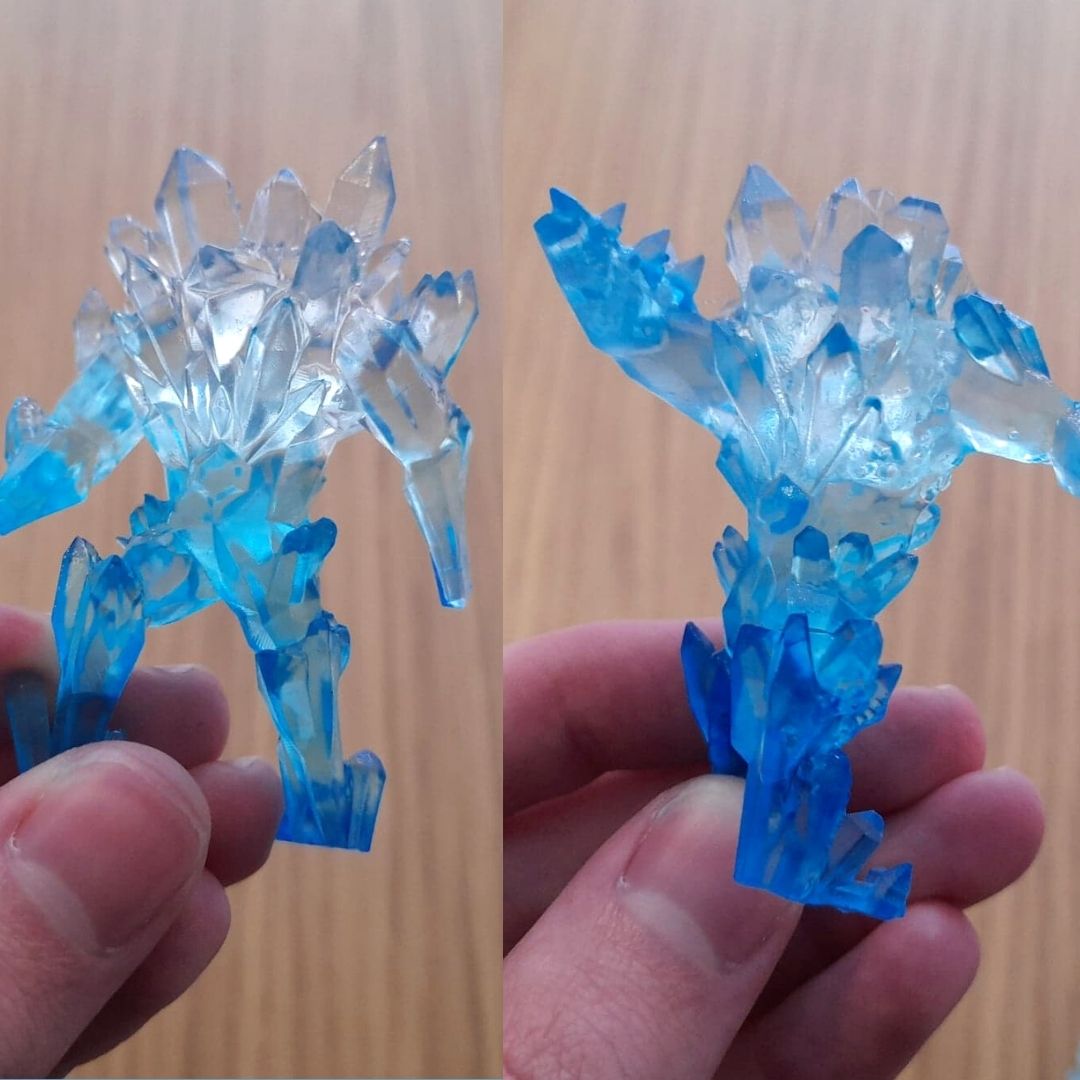
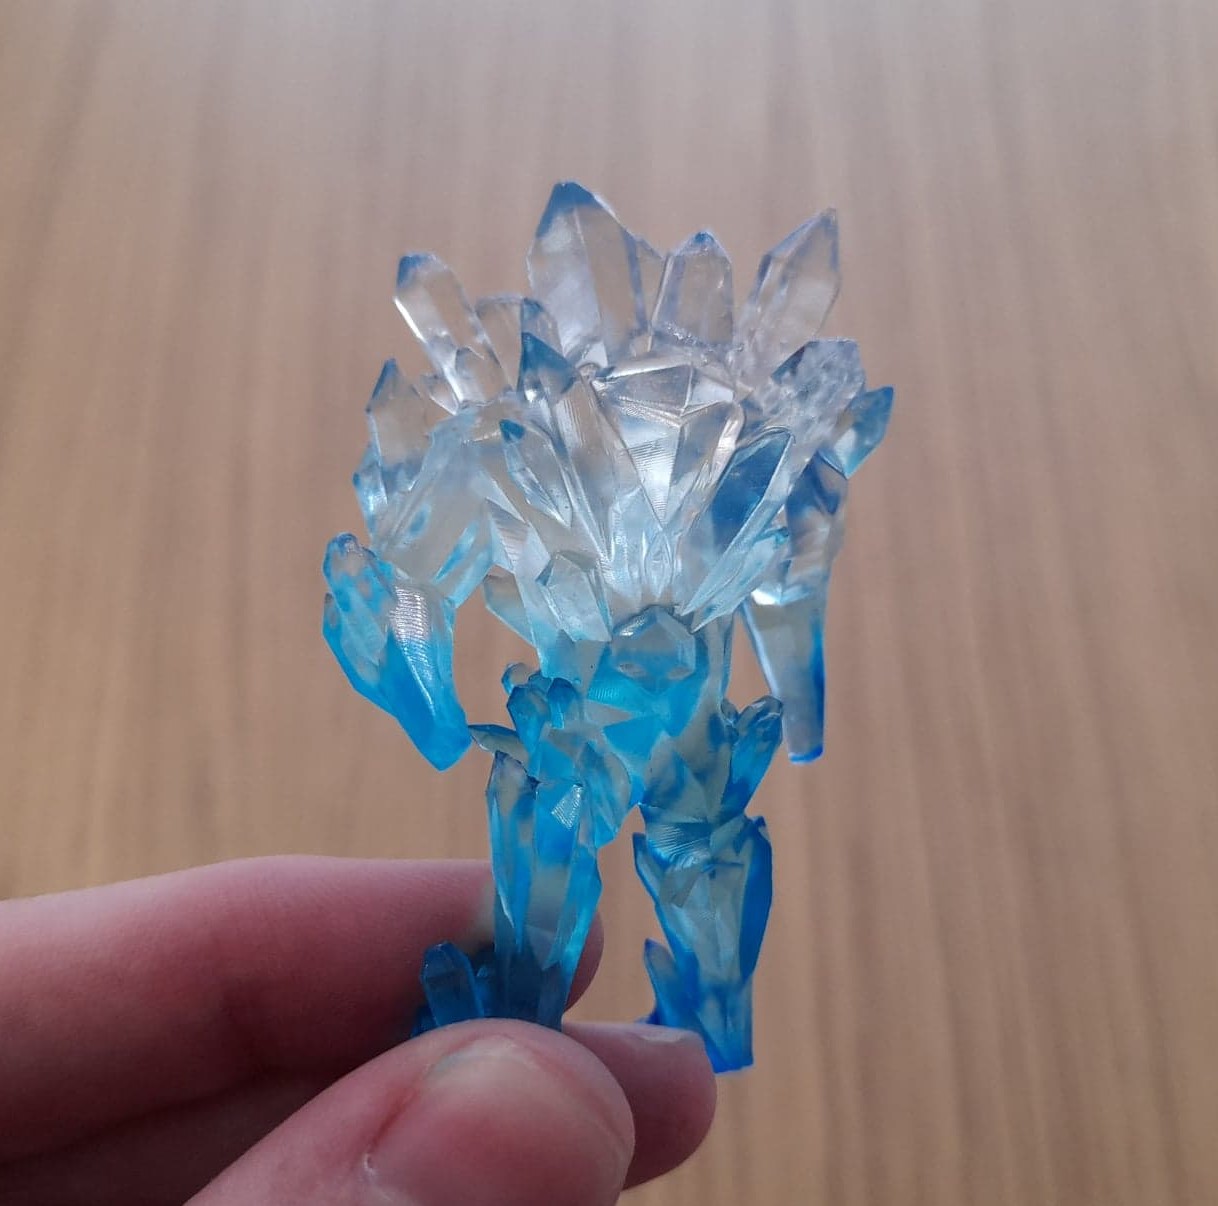
Once fully cured and dry, we’ll apply the resin dye (if you’d like any shading). Even just two colours will do the job of creating a blended, ombre look. The ice golem above was done using a grand total of three resin dye colours – light blue, dark blue and white.
You can play around with painting your models however you want. For this model, I started with the lighter shade – the light blue. I applied it from about the midway point down, because I wanted the model to appear lighter towards the top. I then applied the darkest colour towards the bottom where the shadows would greater. I mostly applied it beneath the ice golem’s feet.
Application was done using a paintbrush – it’s a process really no different to regular painting. To blend them, see the next step.
P.S. Naturally, this stuffs stains once it sets, so be careful around your fabrics like clothes. I accidentally got some on my favourite comforter set to my horror. A generous alcohol dab got it out.


Step 3: Blend Using Acetone or Alcohol
If you are using acetone, you can dip your models directly into it to wipe off some of the resin dye. If you are using IsoPropyl, I recommend just lightly dipping your paintbrush in it and then swiping small amounts on the model.
You can use these to help the resin dyes “run” into each other. The technique is similar to wet blending in painting.
Step 4: Spray With Clear Gloss or Varnish
This is the real hero of how to get clear resin prints. It doesn’t need to be any special kind of craft gloss or varnish either, although you might find some in hobby or craft stores.
You can pick up any clear gloss spray can or clear varnish. If you’ve painted the model using resin dye, you may want to spray a small test area to confirm there isn’t any unfortunate interactions before you drown your lovingly painted model in your off brand gloss. That said, I have used a few kinds and never had any issues at all. You should be just fine.
Tips:
- If you’ve every primed models for painting, treat the process in exactly the same fashion.
- Wear disposable gloves! This stuff has a potent smell.
- Apply the gloss in several thinner coats rather than one thick coat. The more layers, the glossier the model.
- Spray the can from between 15cm – 30cm away.
Transparent Resin 3D Printing Parameters:
How do you print clear resin?
It’s worth noting that transparent resins are different to standard resins. They are generally a lot stickier and more viscous.
This means they require adjustments to settings on your 3D printer during the slicing stage. You can make these changes in both ChituBox and Lychee.
To find the ideal settings for printing different brands of transparent resin on your specific 3D printer, you should check the resin manufacturer’s website.
Elegoo’s list of recommended calibrations for your 3D printer can be found here.
Anycubic’s resin printer settings can be found here.
Both brands tend to only cite the settings for their own makes of 3D printers, but all 3D printer resins are interchangeable. Just try to match the general size of the printers. For instance, you can use Anycubic resin on an Elegoo Saturn by comparing the recommended resin print settings to that of the Anycubic equivalent in size – something like the Anycubic Photon Mono X.
As an example, here are my 3D printer settings for printing clear resin on my Elegoo Mars 3:
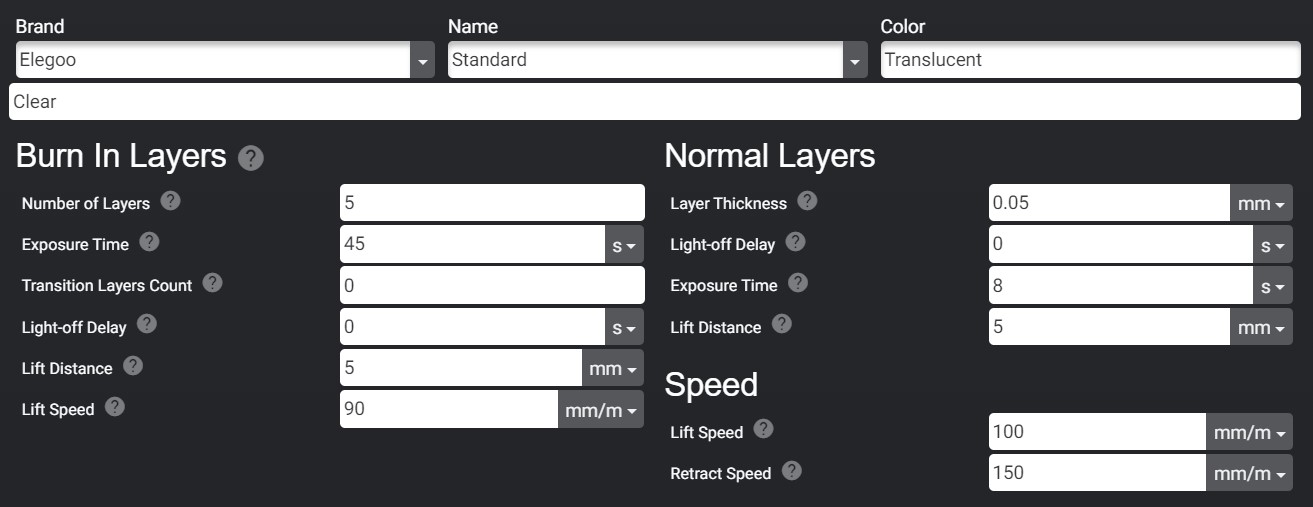
")
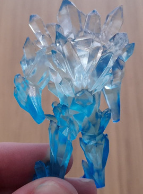
Free Crystal Golem
Clay Rade made this badass Crystal Golem, and has also provided it for free. Looks like someone’s even followed this guide and put up pics of their print job on MyMiniFactory. So grab that here.
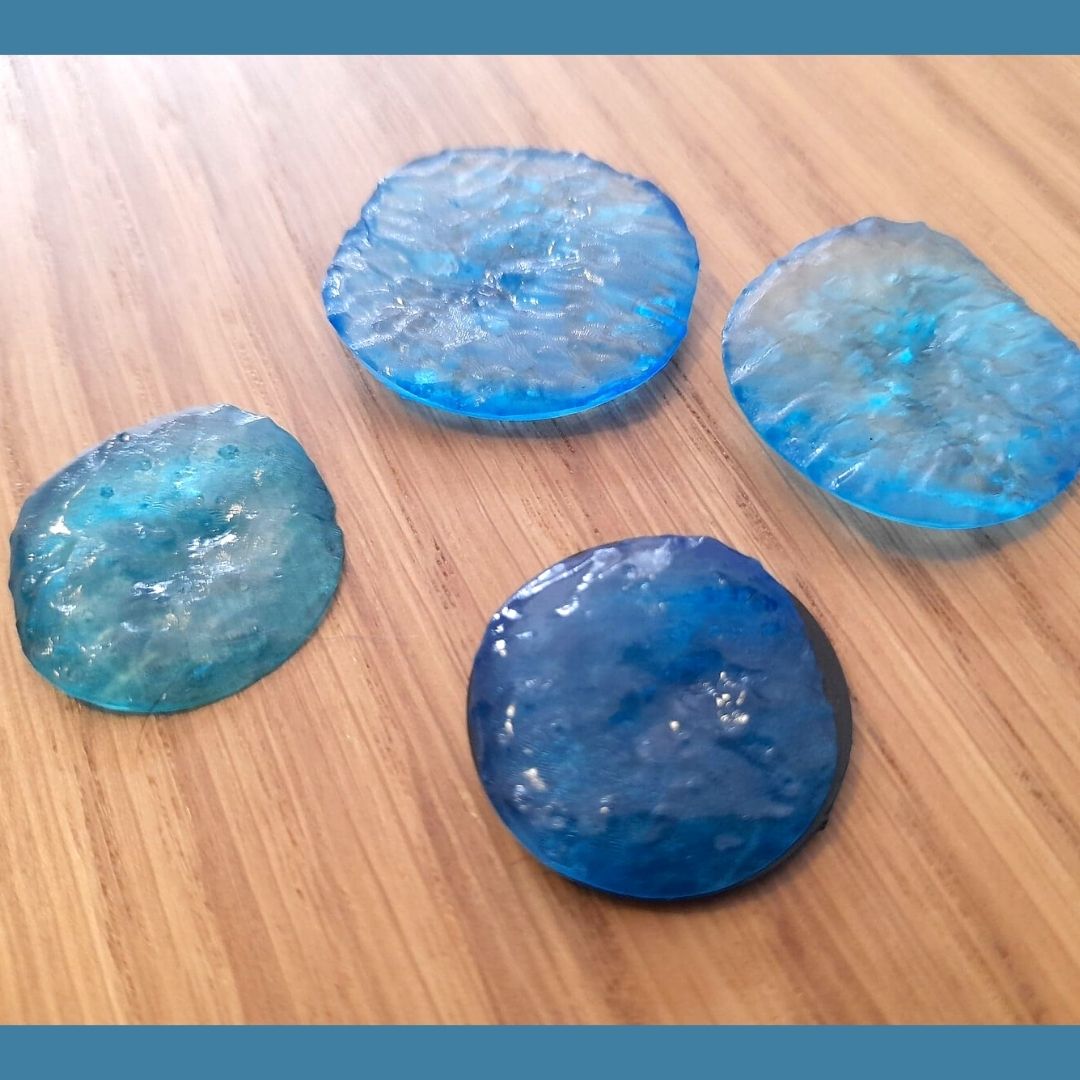
Example Clear 3D Prints Post-Gloss: