How to Sculpt in Blender - 3D Printer Australia
Getting started with Blender can be daunting if you’re new to 3D modelling – but it’s pretty straightforward once you know where everything is.  

Getting Started with Blender

Blender is an amazingly versatile, entirely free open-source 3D creation suit. If you’re looking to jump into 3D modelling, especially for the purposes of 3D printing your creations, it’s a great place to start.   Blender Pros:
  • Software is 100% free to use
  • Big community for advice
  • Really powerful, leveraging Python
  • Free to use for any purpose – including commercial and educational
  • Covers all aspects of 3D creation
  Blender Cons:
  • Not intuitive if you’re new to 3D modelling
  • Zbrush has outclassed it for modelling characters because of a different approach to polygons
What can Blender do?

Blender is end-to-end for the 3D pipeline. This includes 3D modelling, texturing, animation, rigging, still images, rendering, compositing, motion tracking, simulation, video editing and even game creation.

For the purposes of this tutorial and presumably your interest, it can help you create the following 3D models:

  • Characters
  • Houses
  • Terrain
  • Animals
  • Furniture
  • Board game pieces
  • Cosplay props
  • Knick-knacks
  • Items with letters or numbers on them, such as dice
What OS does Blender run on?

Blender runs equally well on Linux, Windows, and Macintosh computers. It uses OpenGL for its interface. Their website provides more specific compatibility if you’re interested. That list of supported platforms is here.

Zbrush vs. Blender

Zbrush focuses solely on sculpting, and can process more intricate detailing that make it well-suited to 3D modelling characters. That said, for the purposes of 3D printing models, don’t get hung up on this too much. Most of the phenomenal detail you’ll see in Zbrush won’t actually show up in the end 3D print job at smaller scales, such as those for Dungeons and Dragons or Warhammer. Larger scale models for painting or display may pick them up of course.


The strength of Blender is as a generalist’s tool, and its simplicity when it comes to modelling less detailed models such as houses or knick knacks.


I will follow this up with a quickstart guide to Zbrush for those interested. Zbrush uses a unique system called Dynamesh which is an entirely different approach to how the software processes polygons. Zbrush is paid software.

Can I 3D Print my Blender Creations?

Of course! The process for 3D modelling for game aspects or 3D printing is remarkably similar. You will want to understand aspects like scale for 3D printing, as well as understand that flat textures that work in games will naturally not print onto a 3D model. Texturing needs to be defined via sculpting indents, recesses, and protrusions – you can’t slap on a static image textured like wood.

Blender lets you export files directly as STLs, which is the format you’ll want for 3D printing.

Where can I download Blender?

Download Blender from the official website here.

How to sculpt in Blender:
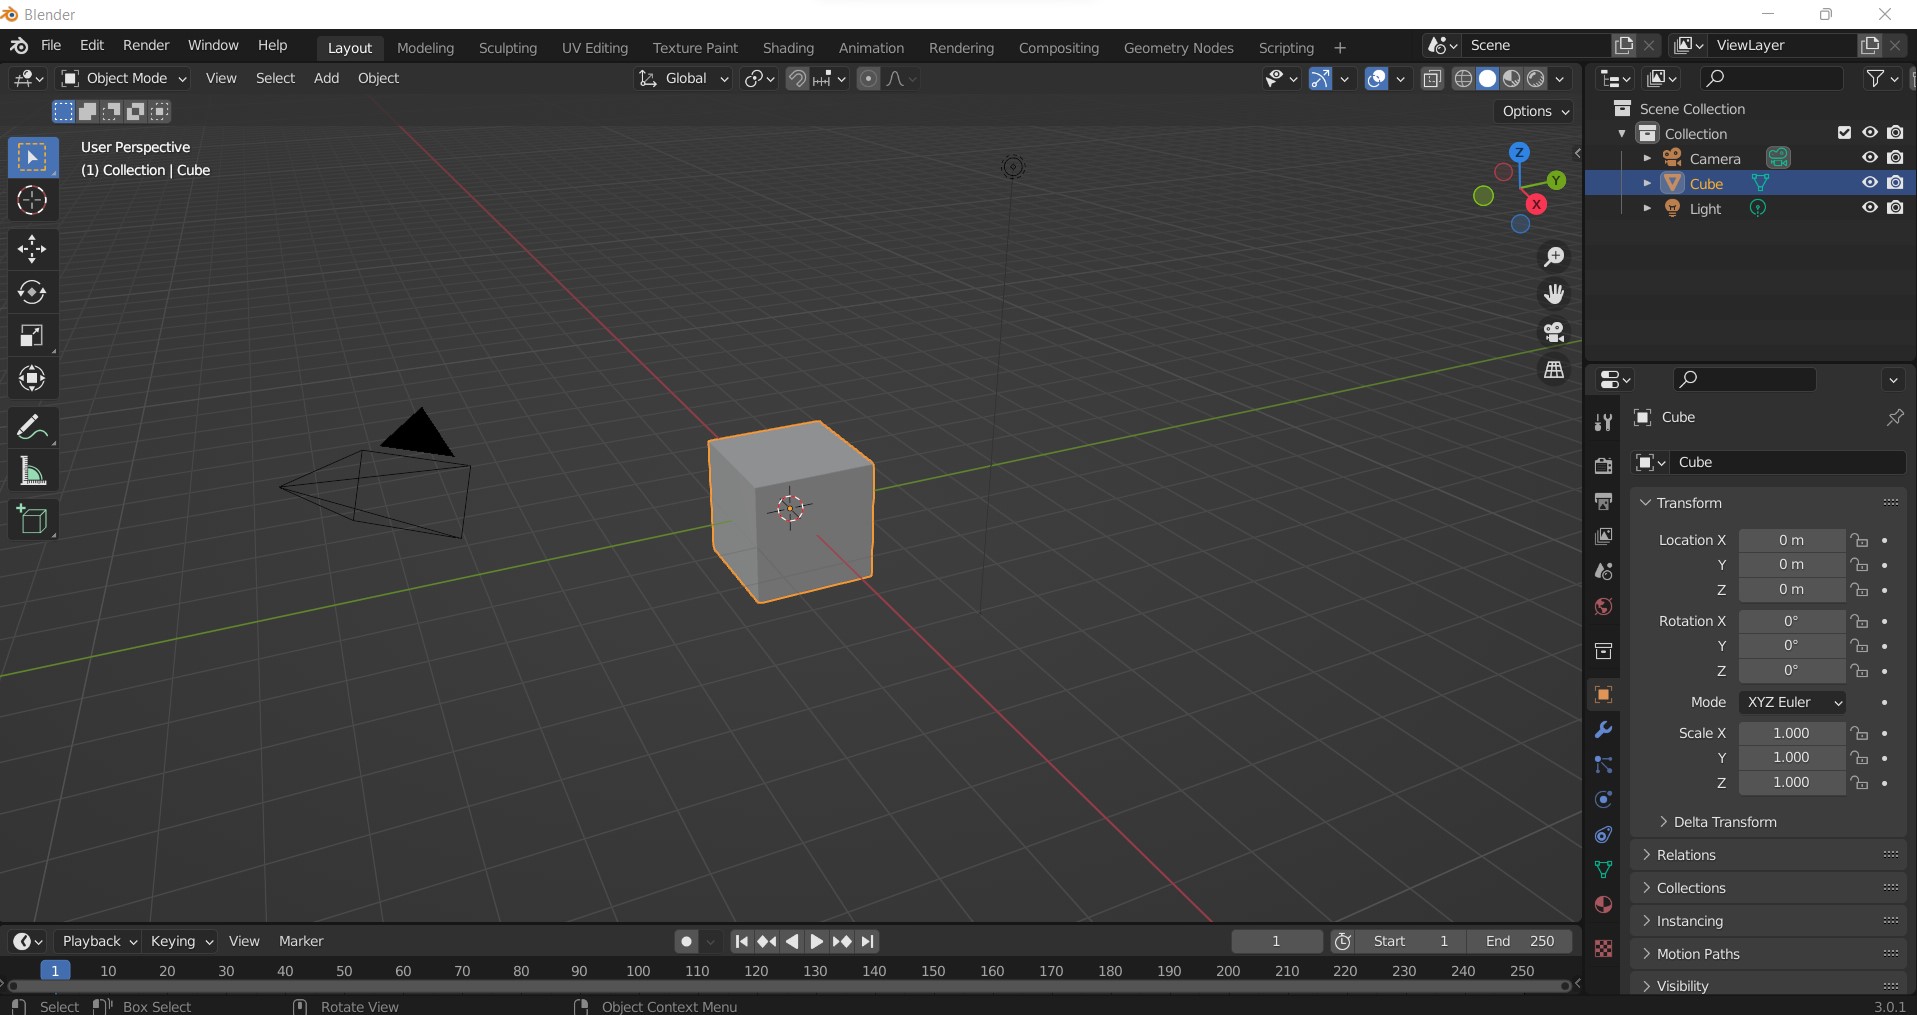
 

Step 1

Assuming you’ve downloaded and installed Blender, this is what you’ll see when you first open it up. Let’s hit ‘A’, for Select all. Then ‘Delete’ to clear our screen.

Step 2

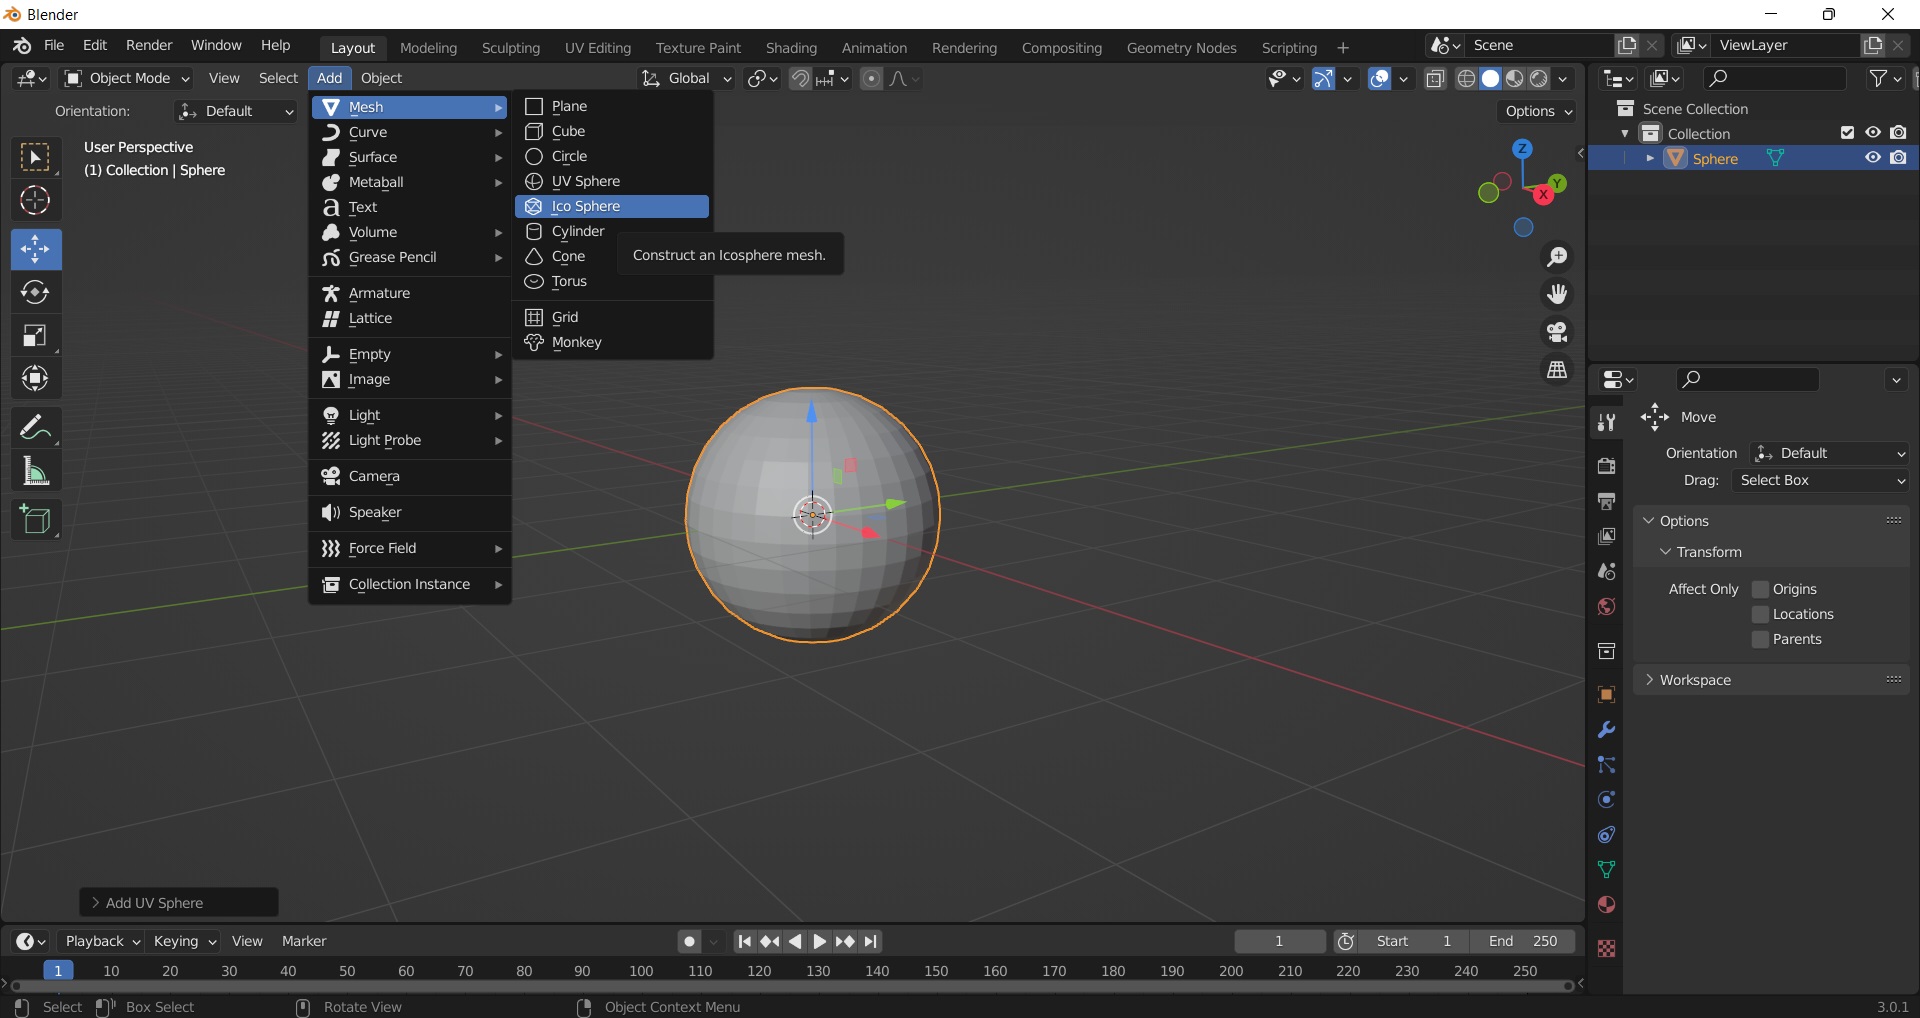
Let’s create a sphere. We’ll navigate to ‘Add’ and select ‘Mesh’, then select ‘UV Sphere’.

Step 3

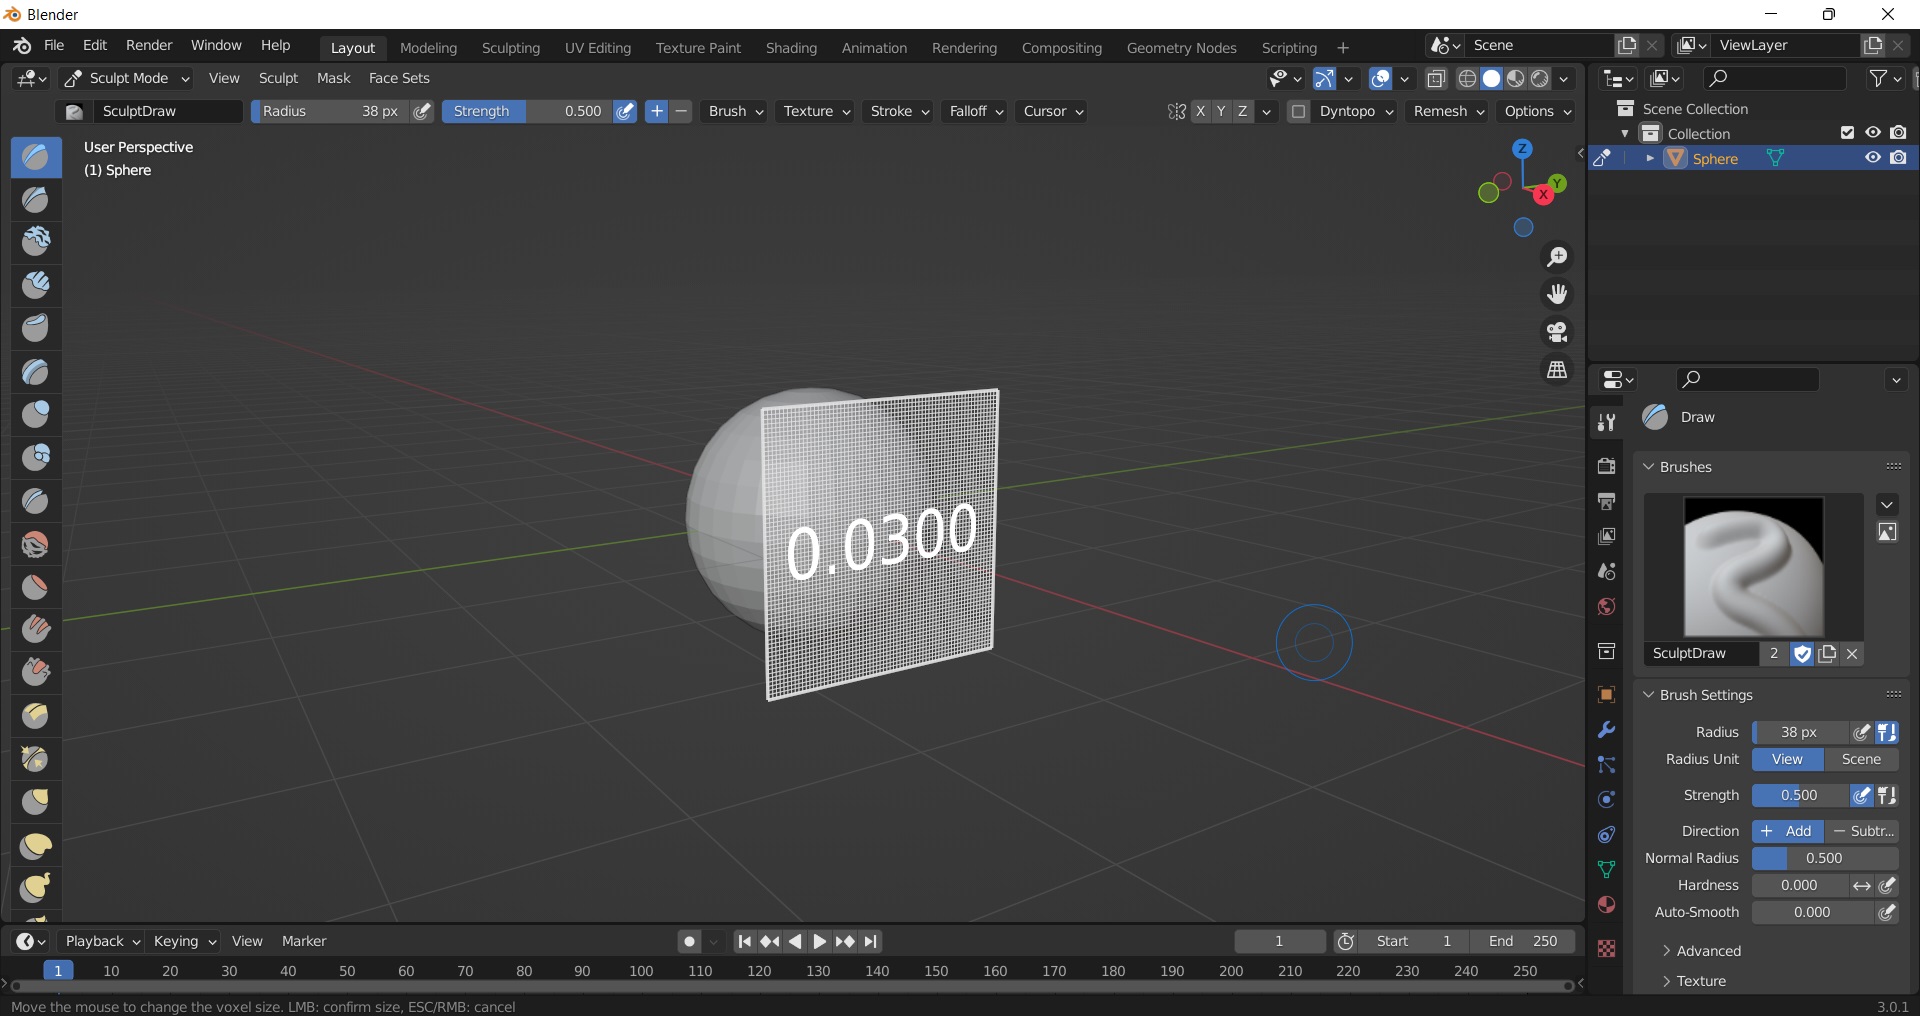
Let’s go into sculpt mode. Right now, sculpting won’t work because we have too few polygons. We’ll create more polygons and then remesh our object so that we have more to work with. The more polygons, the greater the detail. Keep in mind that subsequently the more polygons to process, the larger the file. 3D files can inflate in size drastically, so don’t go crazy.

Select ‘SHIFT + R’. We’ll move our mouse forwards and back to increase or decrease this number. Let’s set it to around 300. To confirm and remesh the object, select ‘CNTRL + R’.

Step 4

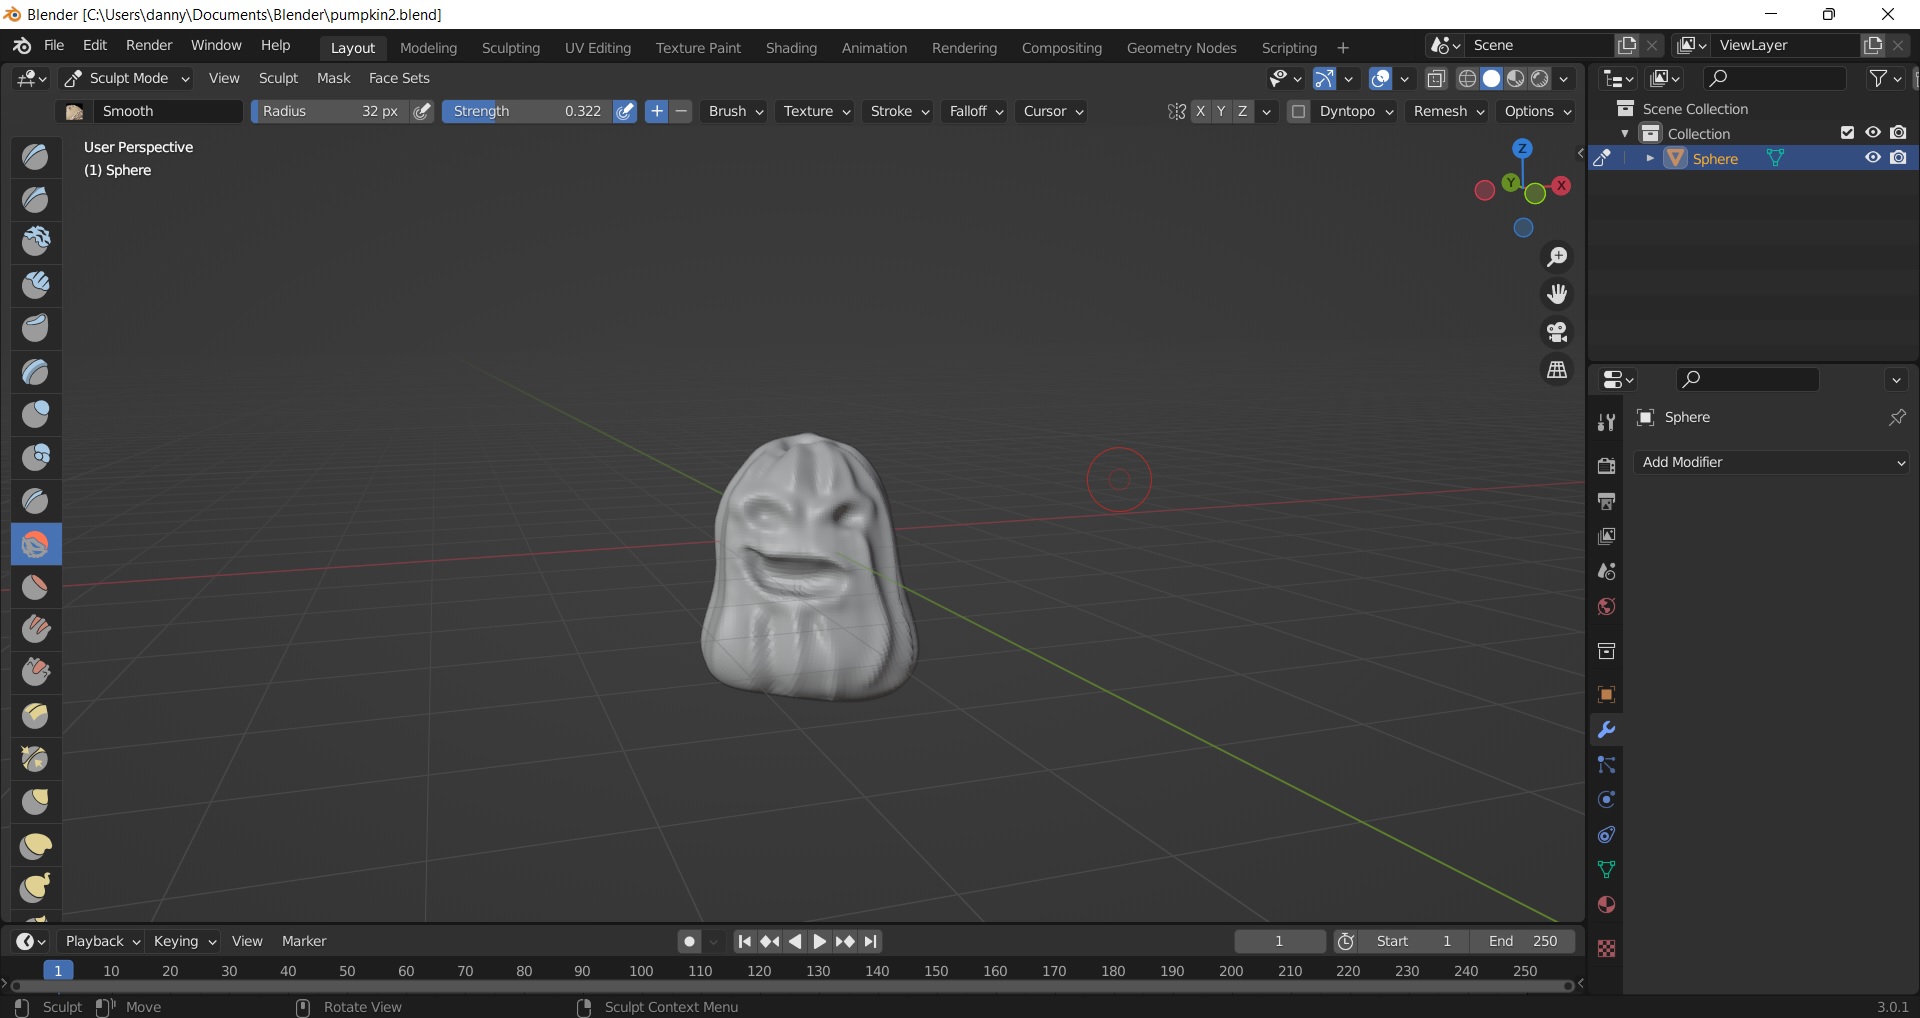
You should now be able to sculpt! Some important shortcuts while you play around include:

  • [ or ] buttons to increase or decrease the radius of your brush size
  • Hold CNTRL in while sculpting to subtract rather than add clay
  • CNTRL + Z to undo

You should also play with the different brushes and calibrate the brush strength to find what suits.

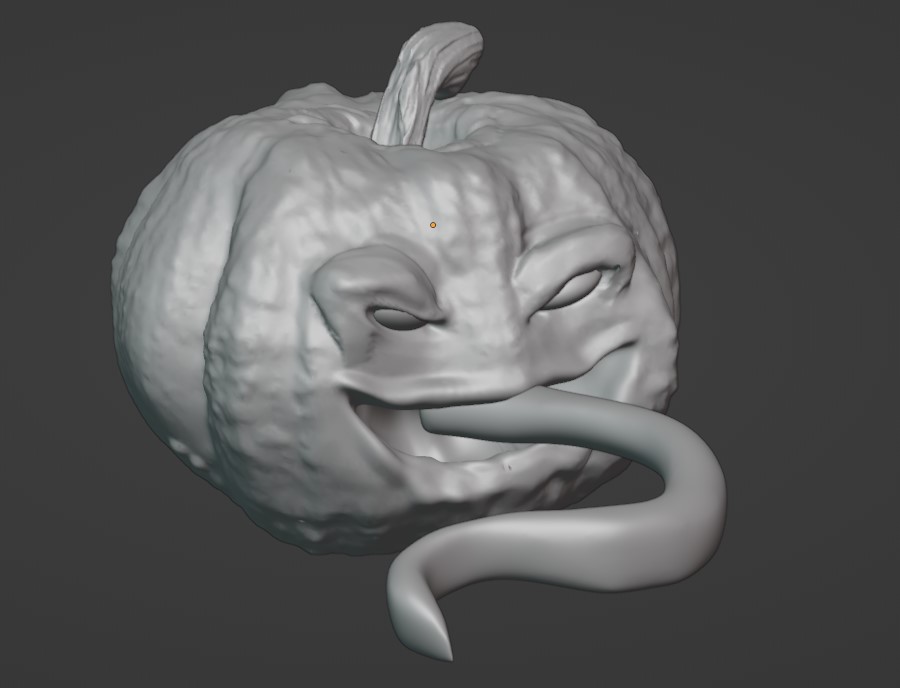
Look at this happy work in progress:

How to add more appendages or limbs:

Sculpting in Blender is much like sculpting with clay in some regards – except you’re kneading around polygons. If you had a small ball of real clay in your hand and tried to pull some arms out of it, you’d end up with some very thin parts.

Similarly, to add more parts or limbs you wouldn’t pull from the ball on Blender. You would add another bit of clay and attach it to the first ball, per each limb.

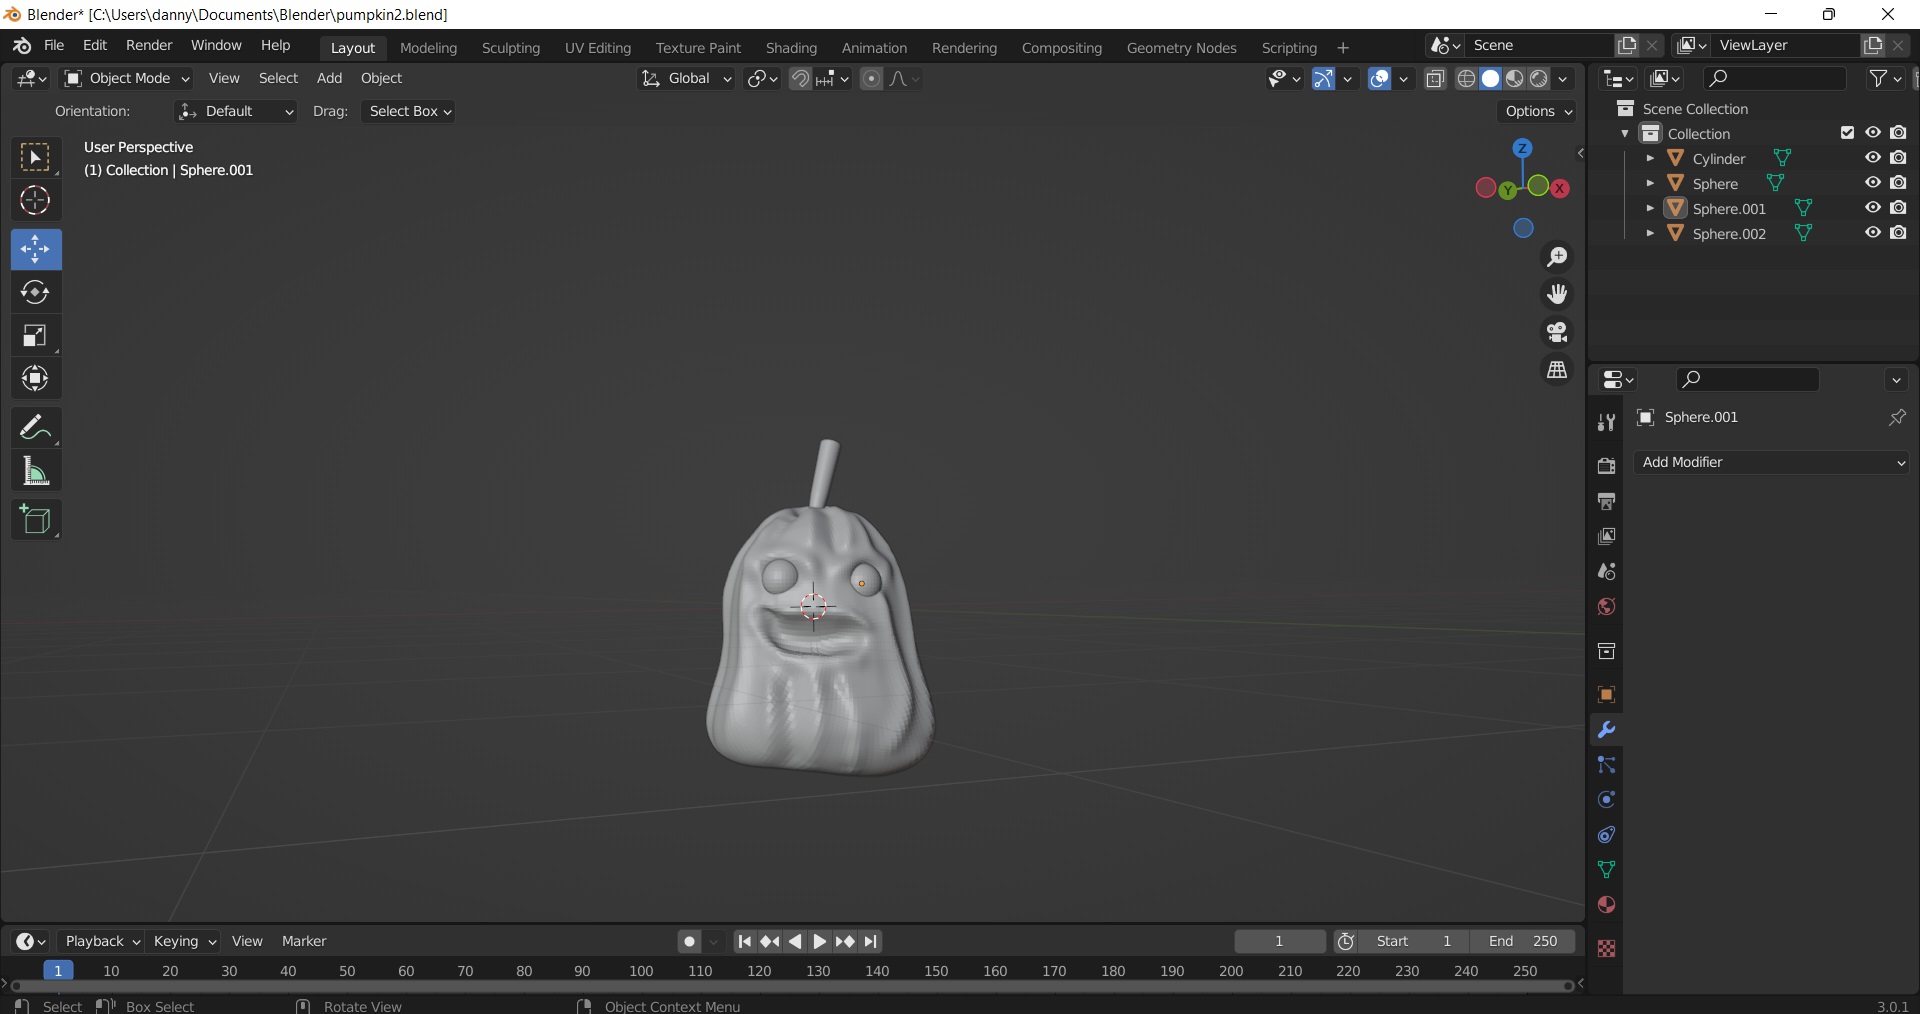
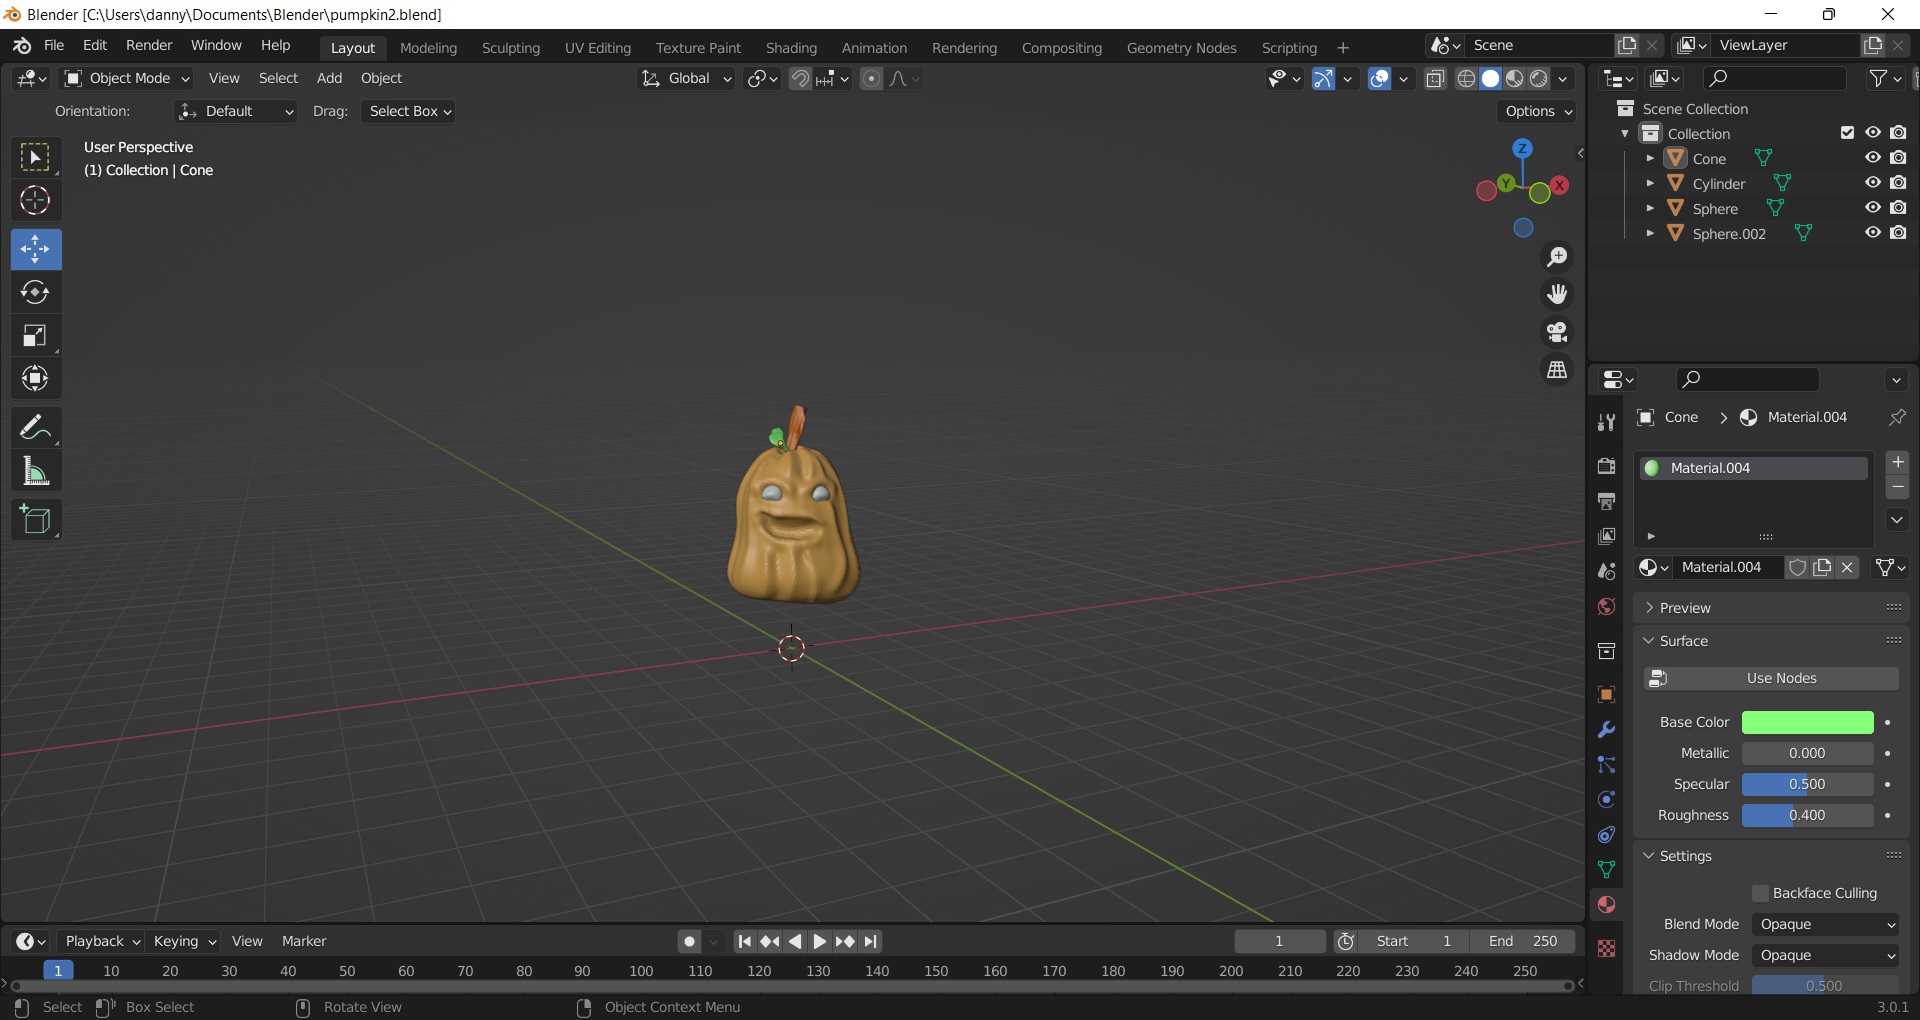
To give my little abomination a stem in the example below, I would go back into ‘Object Mode’, then ‘Add’ a mesh of the shape most suitable (as per Step 2). In this case, I want a stem so I’ve chosen a cylinder.

I’d then use the ‘S’ key to scale it, and select the navigational arrows option (highlighted in blue in the lefthand menu in the image below) to move it around.

With the new limb or appendage selected, return to ‘Sculpt’ mode. Repeat Step 3 to ensure sufficient polygons exist on the new appendage.

Now if I wanted these to blend more seamlessly, such as if I were adjoining a neck to a head where blending would be important, I would simply return to ‘Object Mode’ to join them. With both selected using hold ‘Shift’ and click, or just hitting ‘A’ for all, you’ll then hit CNTRL + J to join them. You can also right-click and select ‘Join’.

When you return to ‘Sculpt mode’, huzzah. You’ll have that added limb ready to go!

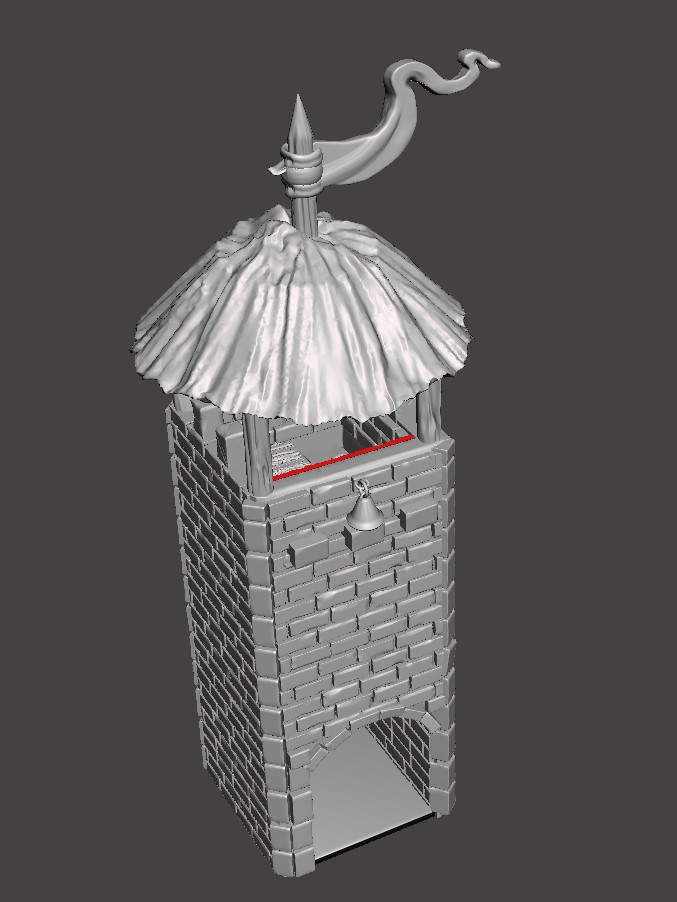
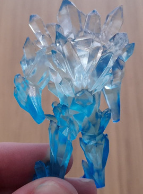
Example Blender sculpts:

How to Sculpt in Blender: Cheat Sheet Download

Hide all but selected
Unhide all
Go into Edit/Object mode
Add a new Mesh
Recalculate Normals (Select All first – CNTRL A)
Join shapes
Separate shapes
Duplicate
Increase subdivisions/polygons
Remesh
Vertices
Edges
Faces
Fill in faces (select desired edges)
Move
Multiple loop cuts
New “Remove Doubles”
Merge/Dissolve two faces
Reposition central point
Select vertice
Invert Selection
Delete
Snap to grid
Spin tool
Wireframe view
Loop Cut
Colour a piece in
Merge Edges to Create Joined Faces
Reduce File Size
Scale down by percentage
Smooth
Copy
Join/close vertices
Solidify Modifier
Mode
Object
Object
Object/Edit
Object/Edit
Edit
Object
Edit
Object/Edit
Sculpt
Sculpt
Edit
Edit
Edit
Edit
Edit
Edit
Edit
Edit
Object
Edit
Edit
Edit
Object
Edit
Edit/Object
Edit
Object
Edit
Object
Object
Object
Object
Edit
Object
Shortcut Prompt
SHIFT and H
ALT and H
TAB
SHIFT and A
SHIFT and N
SHIFT and J
Select desired part. Hit L or Right click. Go down to Separate then Selected.
SHIFT and D
SHIFT and R
CNTRL and R
1
2
3
F
G (X, Y or Z)
CNTRL and R. Scroll mouse for multiple (before committing by left or right clicking, while still yellow). Left click, right click to set them where they appear.
Select All. Go to Mesh then Clean Up then Merge By Distance
Go to edge select in edit mode ( CNTRL and Tab then EDGE), select the middle edge of the two faces. Then X then Dissolve edges.
Move the cursor to the chosen spot (the red and white lined circle). Right click, set Origin to 3D cursor.
Hit CNTRL + I to invert your selection. Hit X to delete and select ‘vertices’. You’ll be left with one vertice.
CNTRL and I
X
Z or Y or X to choose Axis. And control to snap to the grid floor when close
Select pie shape tool on Left menu. SELECT mode then pick a vertice for pivot point. SHIFT + S then Cursor to selected. Left click on circle to extrude in that direction. It will spin off wherever the axis point is. Spins from the POV, so X,Y,Z.
Z (then select a view)
CNTRL and R
Select what you want to colour. Select the red ball in the right hand menu called Material Properties then name the material and select Surface then Base Color.
Limited Dissolve (Hit X, Limited Dissolve)
Decimate Modifier (can often go down to 0.1-0.3). An option that didn’t seem to work that great, but you can try is to tick UnSubdivide and add 1 iteration, more if needed. Lastly, make sure in Edit then Preferences then Save and Load that you check 'Compress file'. Back up before trying these in case they affect your detailing.
Hit S then 0.90 for 90% scale, or 0.85 for 85% scale etc. (so it would shrink by 10% or 15% respectively)
Right click, shade smooth. And then if you want CNTRL and 2. Keep in mind this is for on-screen aesthetics only (such as for video games) and won’t smooth anything for 3D printing.
SHIFT and E
Right click then Merge then At first (or at Centre)
Choose a wall thickness like 0.15m. Helps when adding a Boolean.
Hide all but selected
Unhide all
Go into Edit/Object mode
Add a new Mesh
Recalculate Normals (Select All first – CNTRL A)
Join shapes
Separate shapes
Duplicate
Increase subdivisions/polygons
Remesh
Vertices
Edges
Faces
Fill in faces (select desired edges)
Move
Multiple loop cuts
New “Remove Doubles”
Merge/Dissolve two faces
Reposition central point
Select vertice
Invert Selection
Delete
Snap to grid
Spin tool
Wireframe view
Loop Cut
Colour a piece in
Merge Edges to Create Joined Faces
Reduce File Size
Scale down by percentage
Smooth
Copy
Join/close vertices
Solidify Modifier
Shortcut Prompt
Object Mode:SHIFT and H
Object Mode:ALT and H
Object/Edit Mode:TAB
Object/Edit Mode:SHIFT and A
Edit Mode:SHIFT and N
Object Mode:SHIFT and J
Edit Mode:Select desired part. Hit L or Right click. Go down to Separate then Selected.
Object/Edit Mode:SHIFT and D
Sculpt Mode:SHIFT and R
Sculpt Mode:CNTRL and R
Edit Mode:1
Edit Mode:2
Edit Mode:3
Edit Mode:F
Edit Mode:G (X, Y or Z)
Edit Mode:CNTRL and R. Scroll mouse for multiple (before committing by left or right clicking, while still yellow). Left click, right click to set them where they appear.
Edit Mode:Select All. Go to Mesh then Clean Up then Merge By Distance
Edit Mode:Go to edge select in edit mode ( CNTRL and Tab then EDGE), select the middle edge of the two faces. Then X then Dissolve edges.
Object Mode:Move the cursor to the chosen spot (the red and white lined circle). Right click, set Origin to 3D cursor.
Edit Mode:Hit CNTRL + I to invert your selection. Hit X to delete and select ‘vertices’. You’ll be left with one vertice.
Edit Mode:CNTRL and I
Edit Mode:X
Object Mode:Z or Y or X to choose Axis. And control to snap to the grid floor when close
Edit Mode:Select pie shape tool on Left menu. SELECT mode then pick a vertice for pivot point. SHIFT + S then Cursor to selected. Left click on circle to extrude in that direction. It will spin off wherever the axis point is. Spins from the POV, so X,Y,Z.
Edit/Object Mode:Z (then select a view)
Edit Mode:CNTRL and R
Object Mode:Select what you want to colour. Select the red ball in the right hand menu called Material Properties then name the material and select Surface then Base Color.
Edit Mode:Limited Dissolve (Hit X, Limited Dissolve)
Object Mode:Decimate Modifier (can often go down to 0.1-0.3). An option that didn’t seem to work that great, but you can try is to tick UnSubdivide and add 1 iteration, more if needed. Lastly, make sure in Edit then Preferences then Save and Load that you check 'Compress file'. Back up before trying these in case they affect your detailing.
Object Mode:Hit S then 0.90 for 90% scale, or 0.85 for 85% scale etc. (so it would shrink by 10% or 15% respectively)
Object Mode:Right click, shade smooth. And then if you want CNTRL and 2. Keep in mind this is for on-screen aesthetics only (such as for video games) and won’t smooth anything for 3D printing.
Object Mode:SHIFT and E
Edit Mode:Right click then Merge then At first (or at Centre)
Object Mode:Choose a wall thickness like 0.15m. Helps when adding a Boolean.